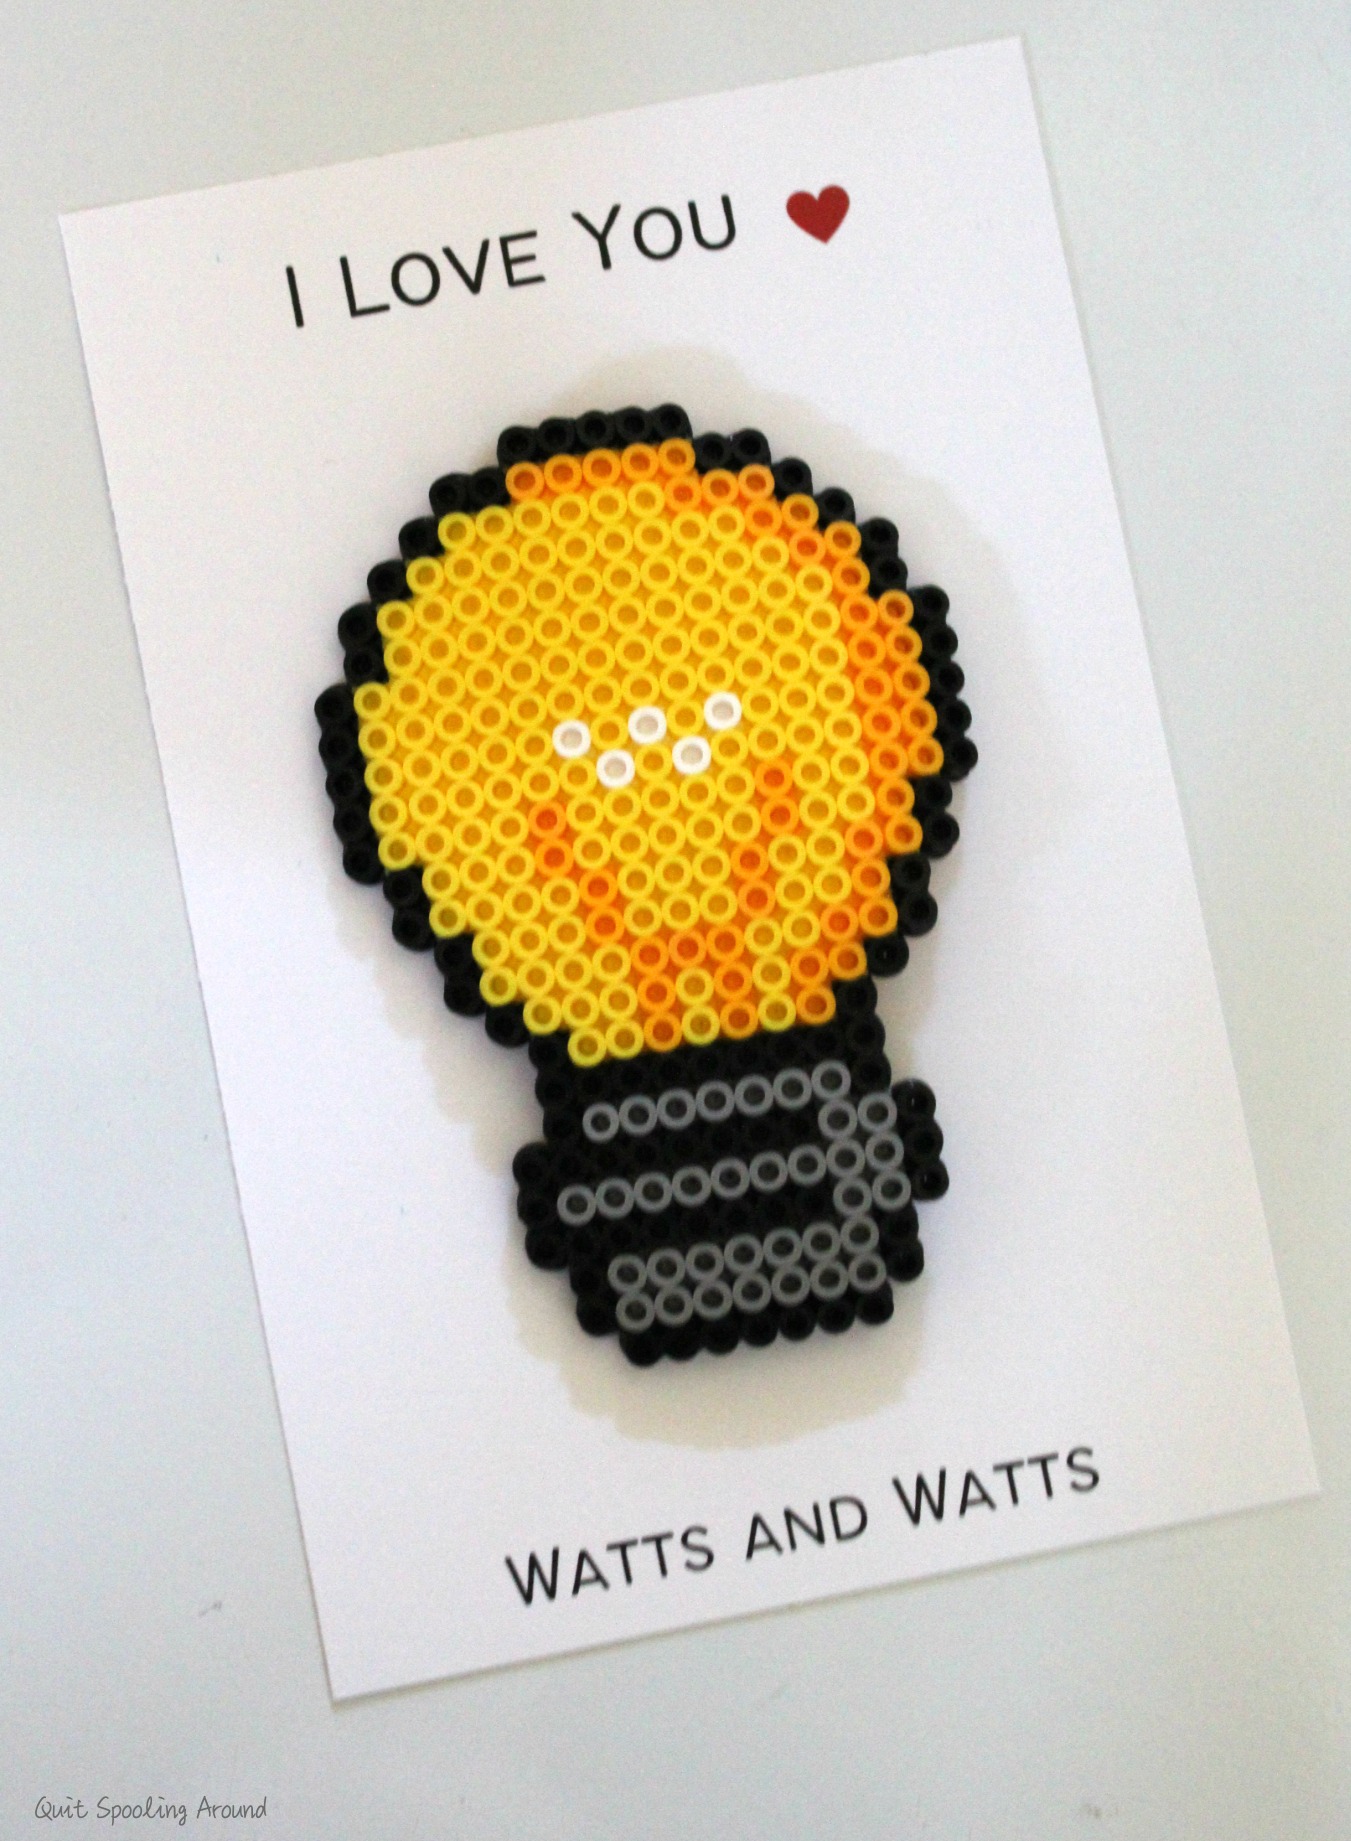
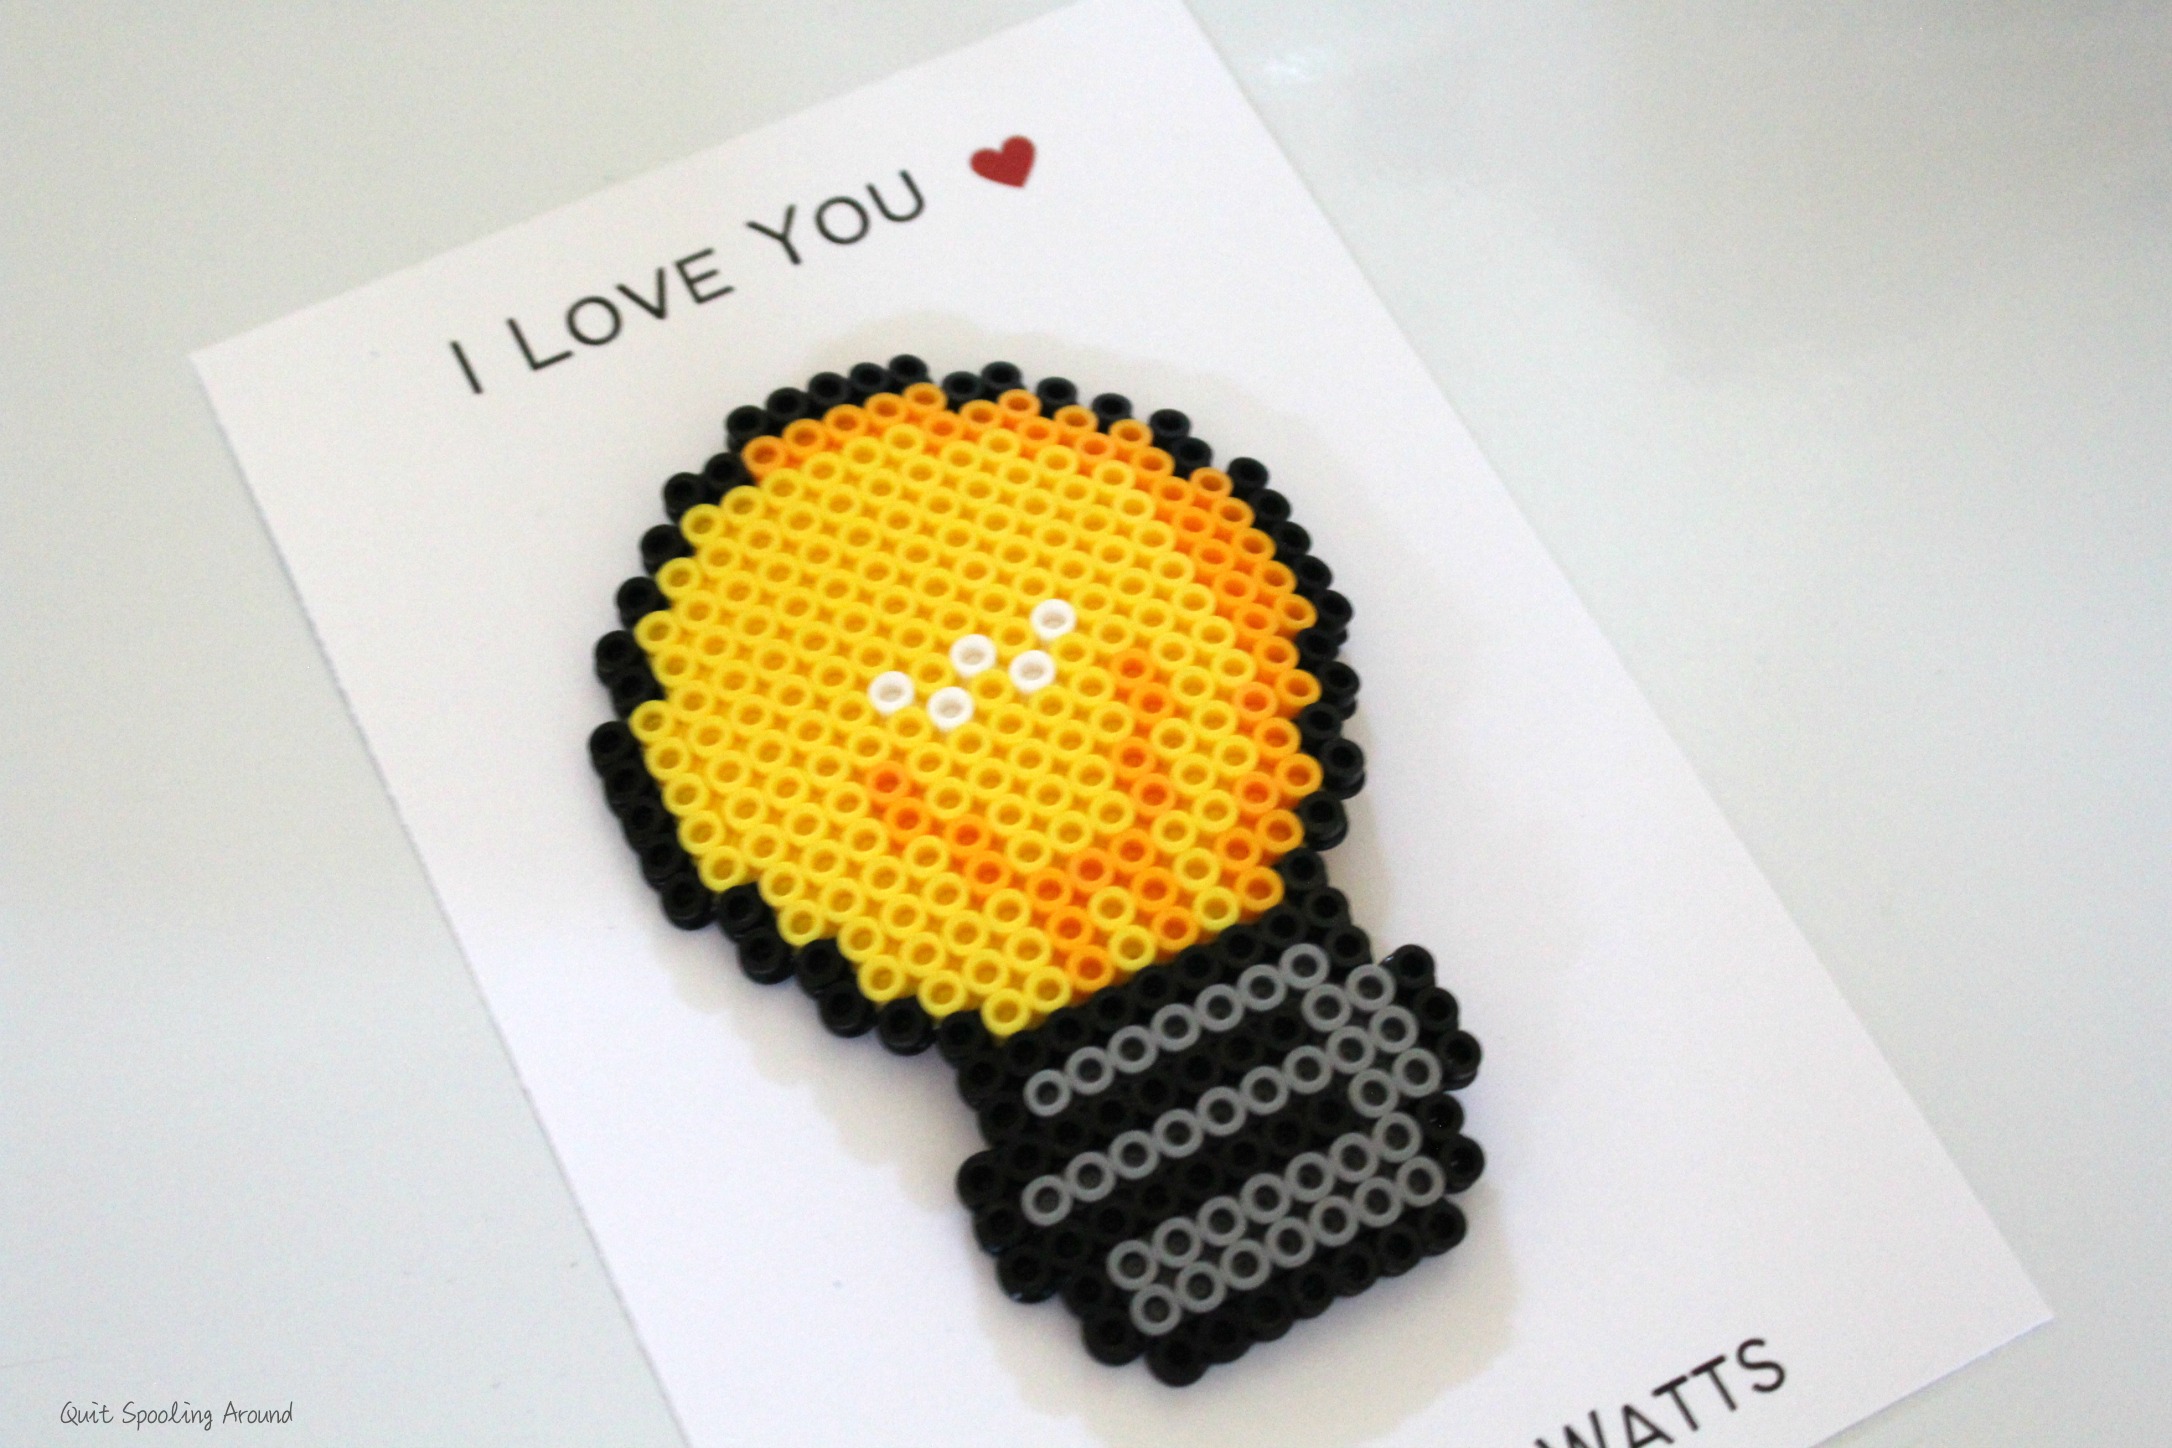
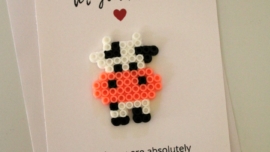
This lightbulb perler bead card is simple to make with pearler beads and thoughtfully placed on a card you can gift to family or friends!
Perler beads are perhaps my favorite family activity. When you have multiple children in a range of ages, they are something that can entertain and yet still keep them learning at the same time.
From rainbow perler bead projects to Valentine perler bead puns, they are the perfect solution to any type of day. Whether that day is a hot day or a cold, blustery wintery day, they have been the saving grace for all 5 of my kids.
I recently gave them a challenge of making perler bead projects that could serve as Valentine “puns”. I’m a huge fan of puns.. and so I wanted to share my passion for puns with my kids. I offered them $1 for each project they create, and that $1 goes into their savings bank.
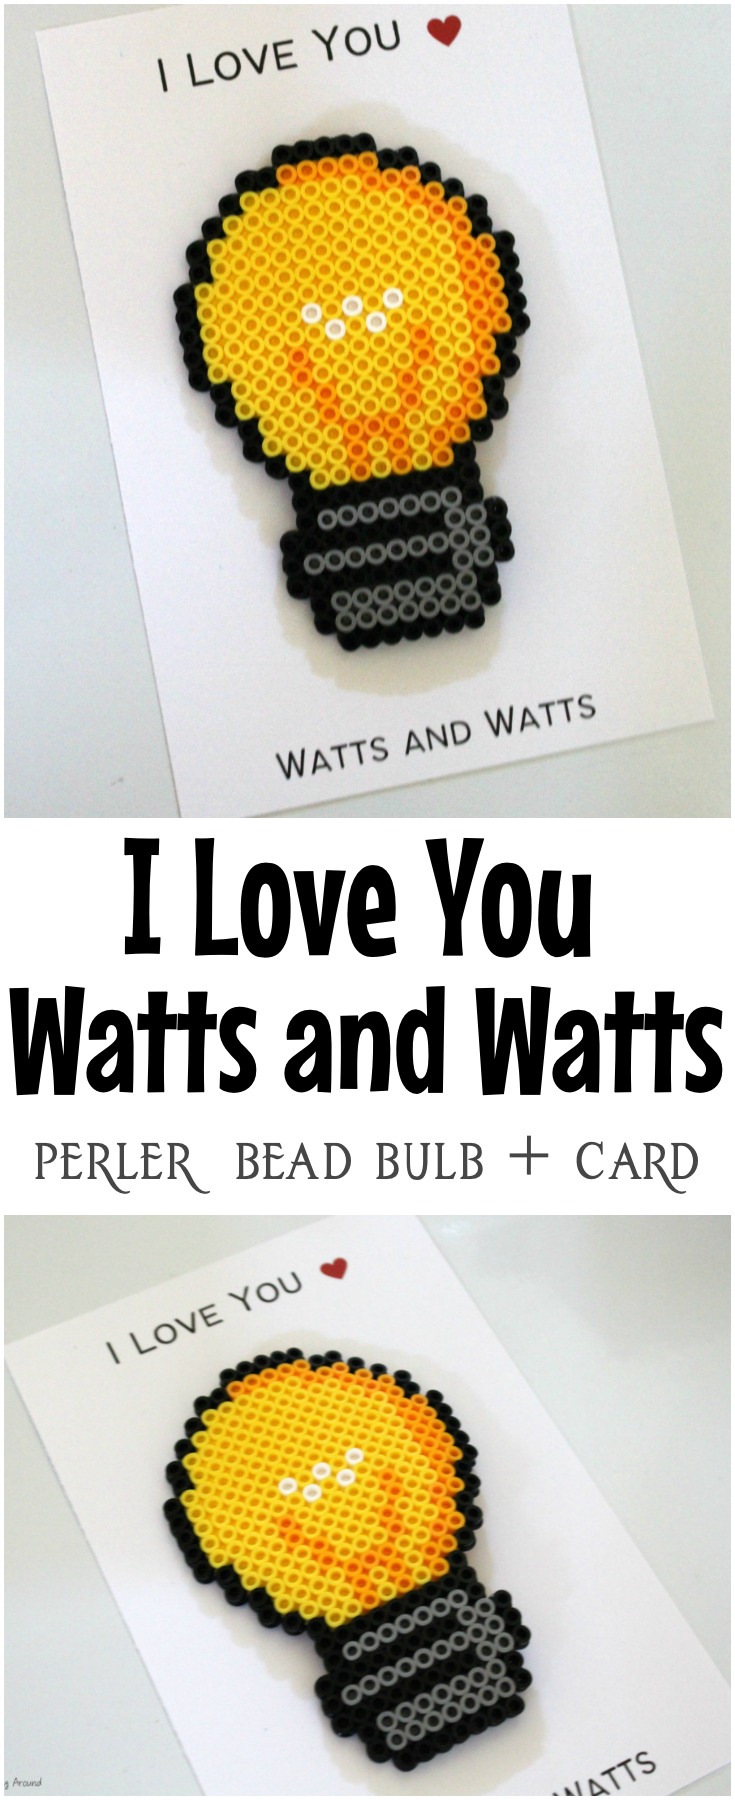
They started with these cute OWL perler bead designs – combined with a card. Then, we moved on to a lightbulb – so we could say “I Love You Watts and Watts!” How cute – right?
Lightbulb Perler Bead
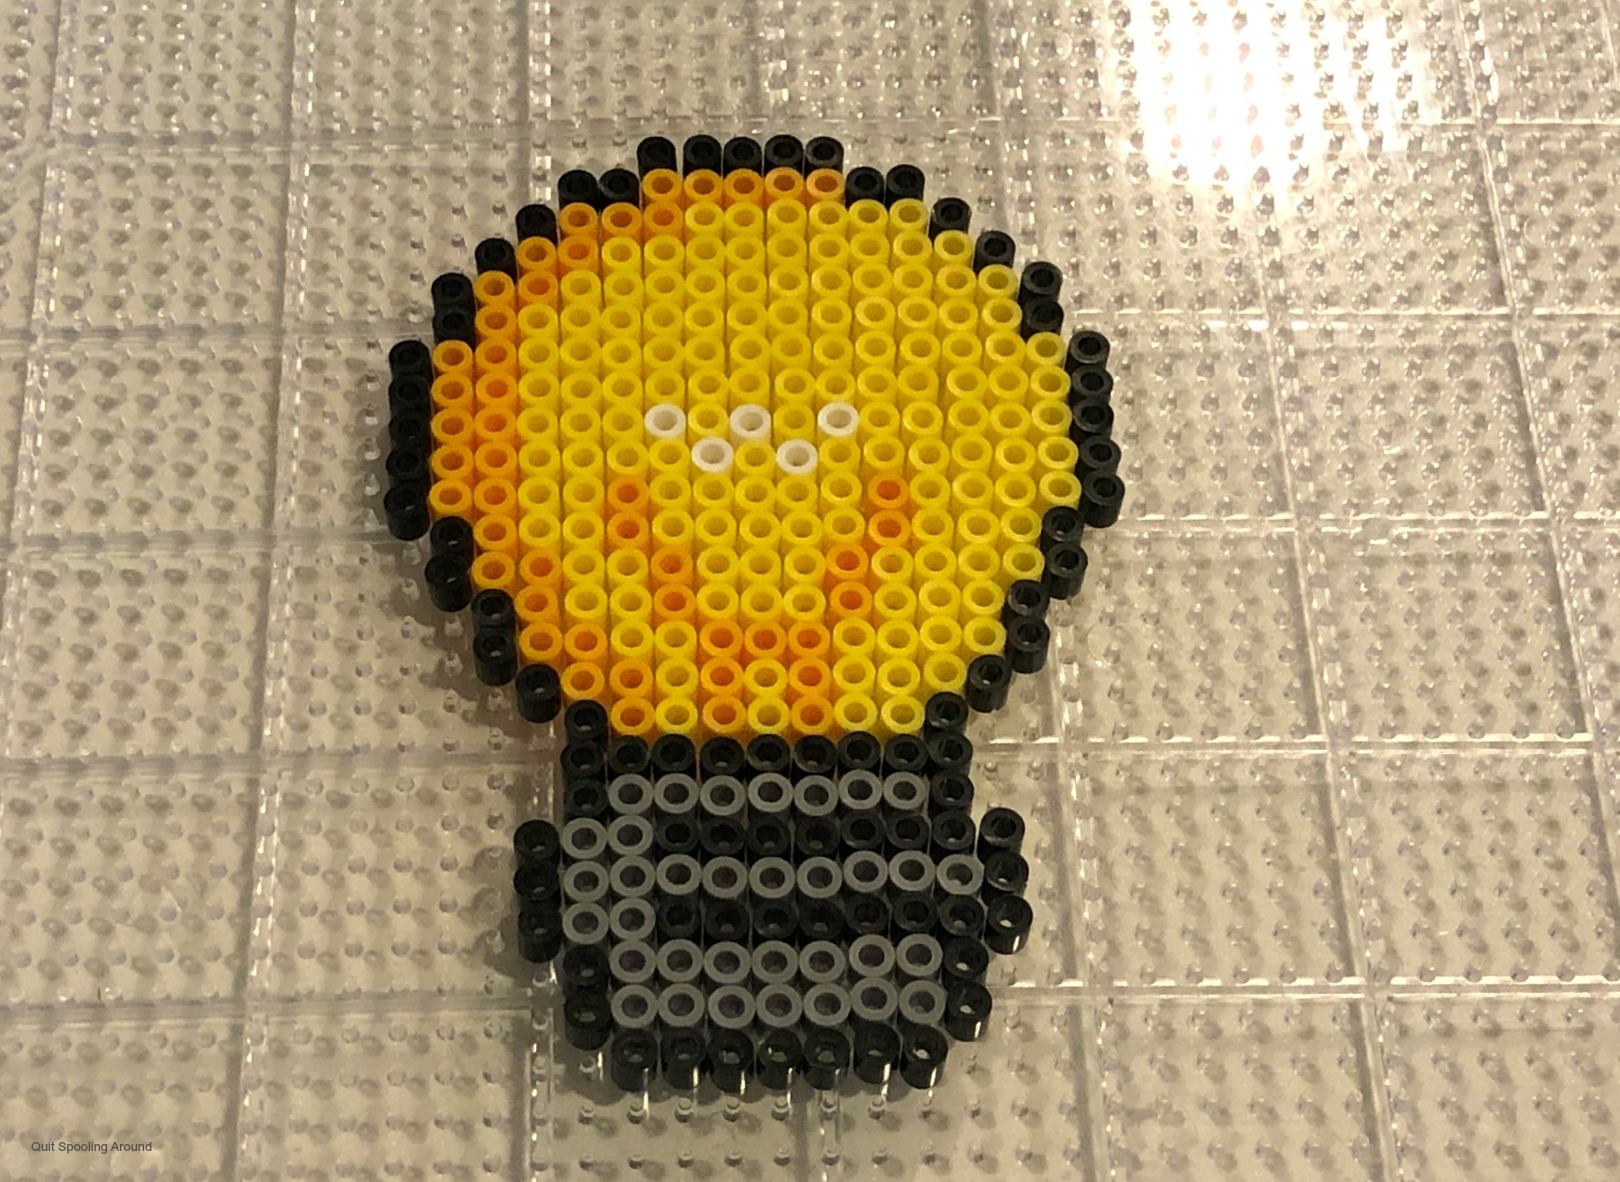
This Perler bead Bulb combines 5 colors and brings them together to create a colorful bulb that serves as a love “pun”.
(Disclaimer: This post includes affiliate links for items at no additional charge to you.)
First, gather your beads and count out each color required:
-
- Orange: 47
- Yellow: 149
- White: 5
- Black: 81
- Gray: 34
Get started by laying out all of your materials on a flat surface. I like to lay a clean terry towel down to prevent the beads from rolling around the table (and onto the floor!)
You’ll start the layout with bottom of the bulb, and then slowly work your way to the yellow portion. When the bulb is complete, get ready to iron your creation.
Lay your wax paper atop and gently press with a warm iron for 30-35 seconds. Avoid over-pressing because the beads will melt a little too much.
I Love You Watts and Watts Card
In addition to those items you’ll also want to have:
-
- 8.5 x 11 cardstock
- adhesive dots (pick up at the Dollar Tree)
- paper cutter
- 5×7 envelopes (pick up at Hobby Lobby or here on Amazon)
- completely optional: 5×7 adhesive sleeves
- this I Love You Watts and Watts printable (prints 2 per page!)
Once you print the card, cut the paper in half with a paper cutter, and affix your bulb on top with a single adhesive dot.
That’s it! If you are sending to family or friends, place the bulb on the card with a single adhesive dot. Then place in a 5×7 adhesive sleeve. Tuck in a 5×7 envelope and mail with a single forever stamp.
Don’t Want to Make It?
Buy the card and Perler Bead bulb here – with FREE shpiping!


Leave a Reply