
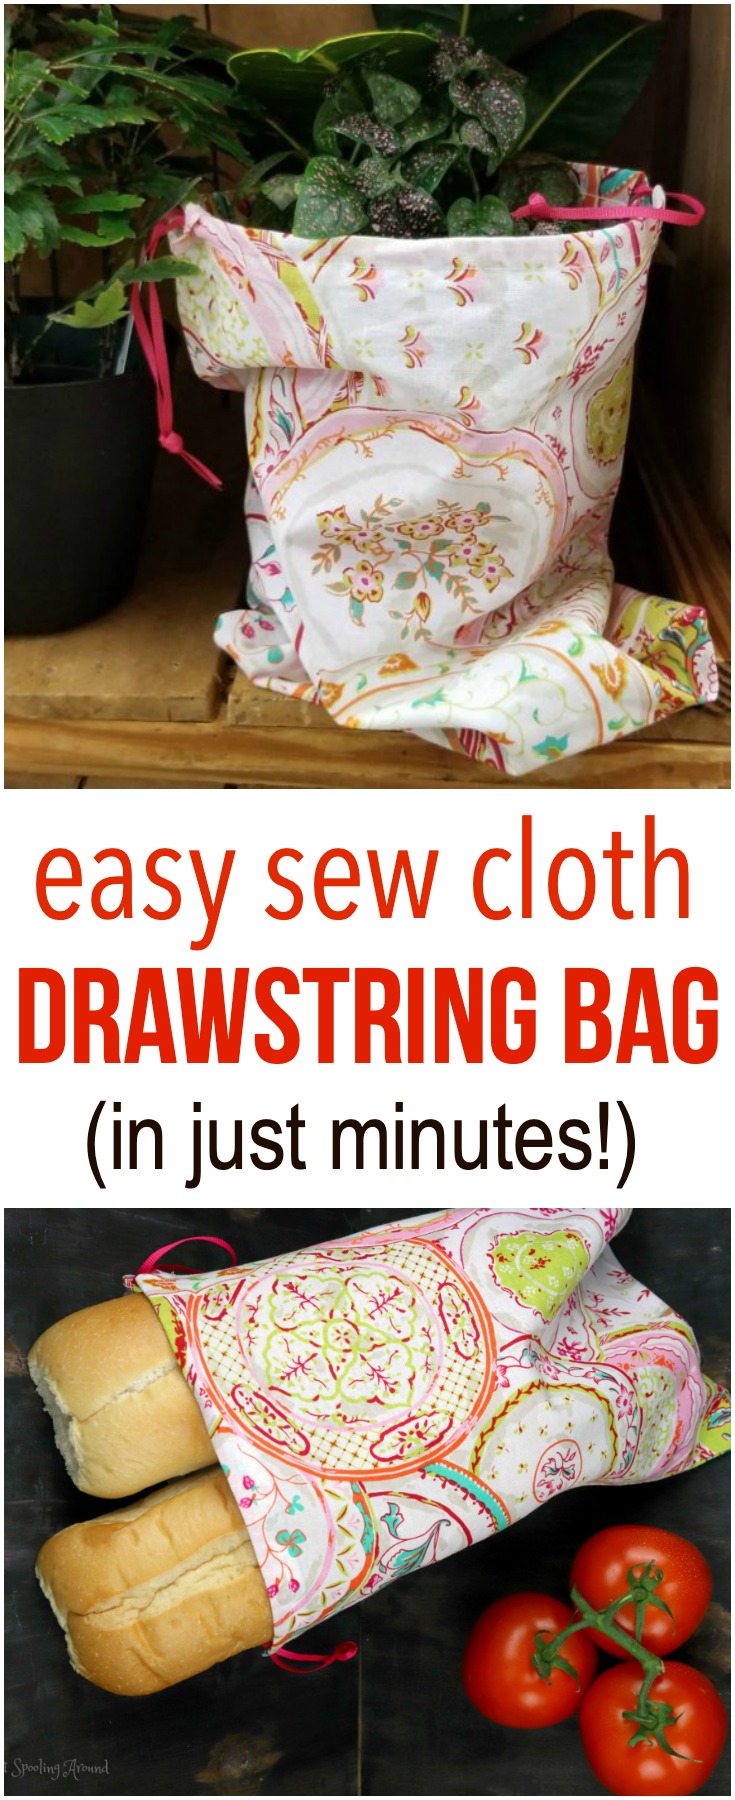
Grab a piece of fabric and sew up this easy cloth drawstring bag in less than 10 minutes with this simple step by step tutorial!
It’s fun to come up with easy sewing projects that make you feel like a rockstar on your sewing machine. Agree?
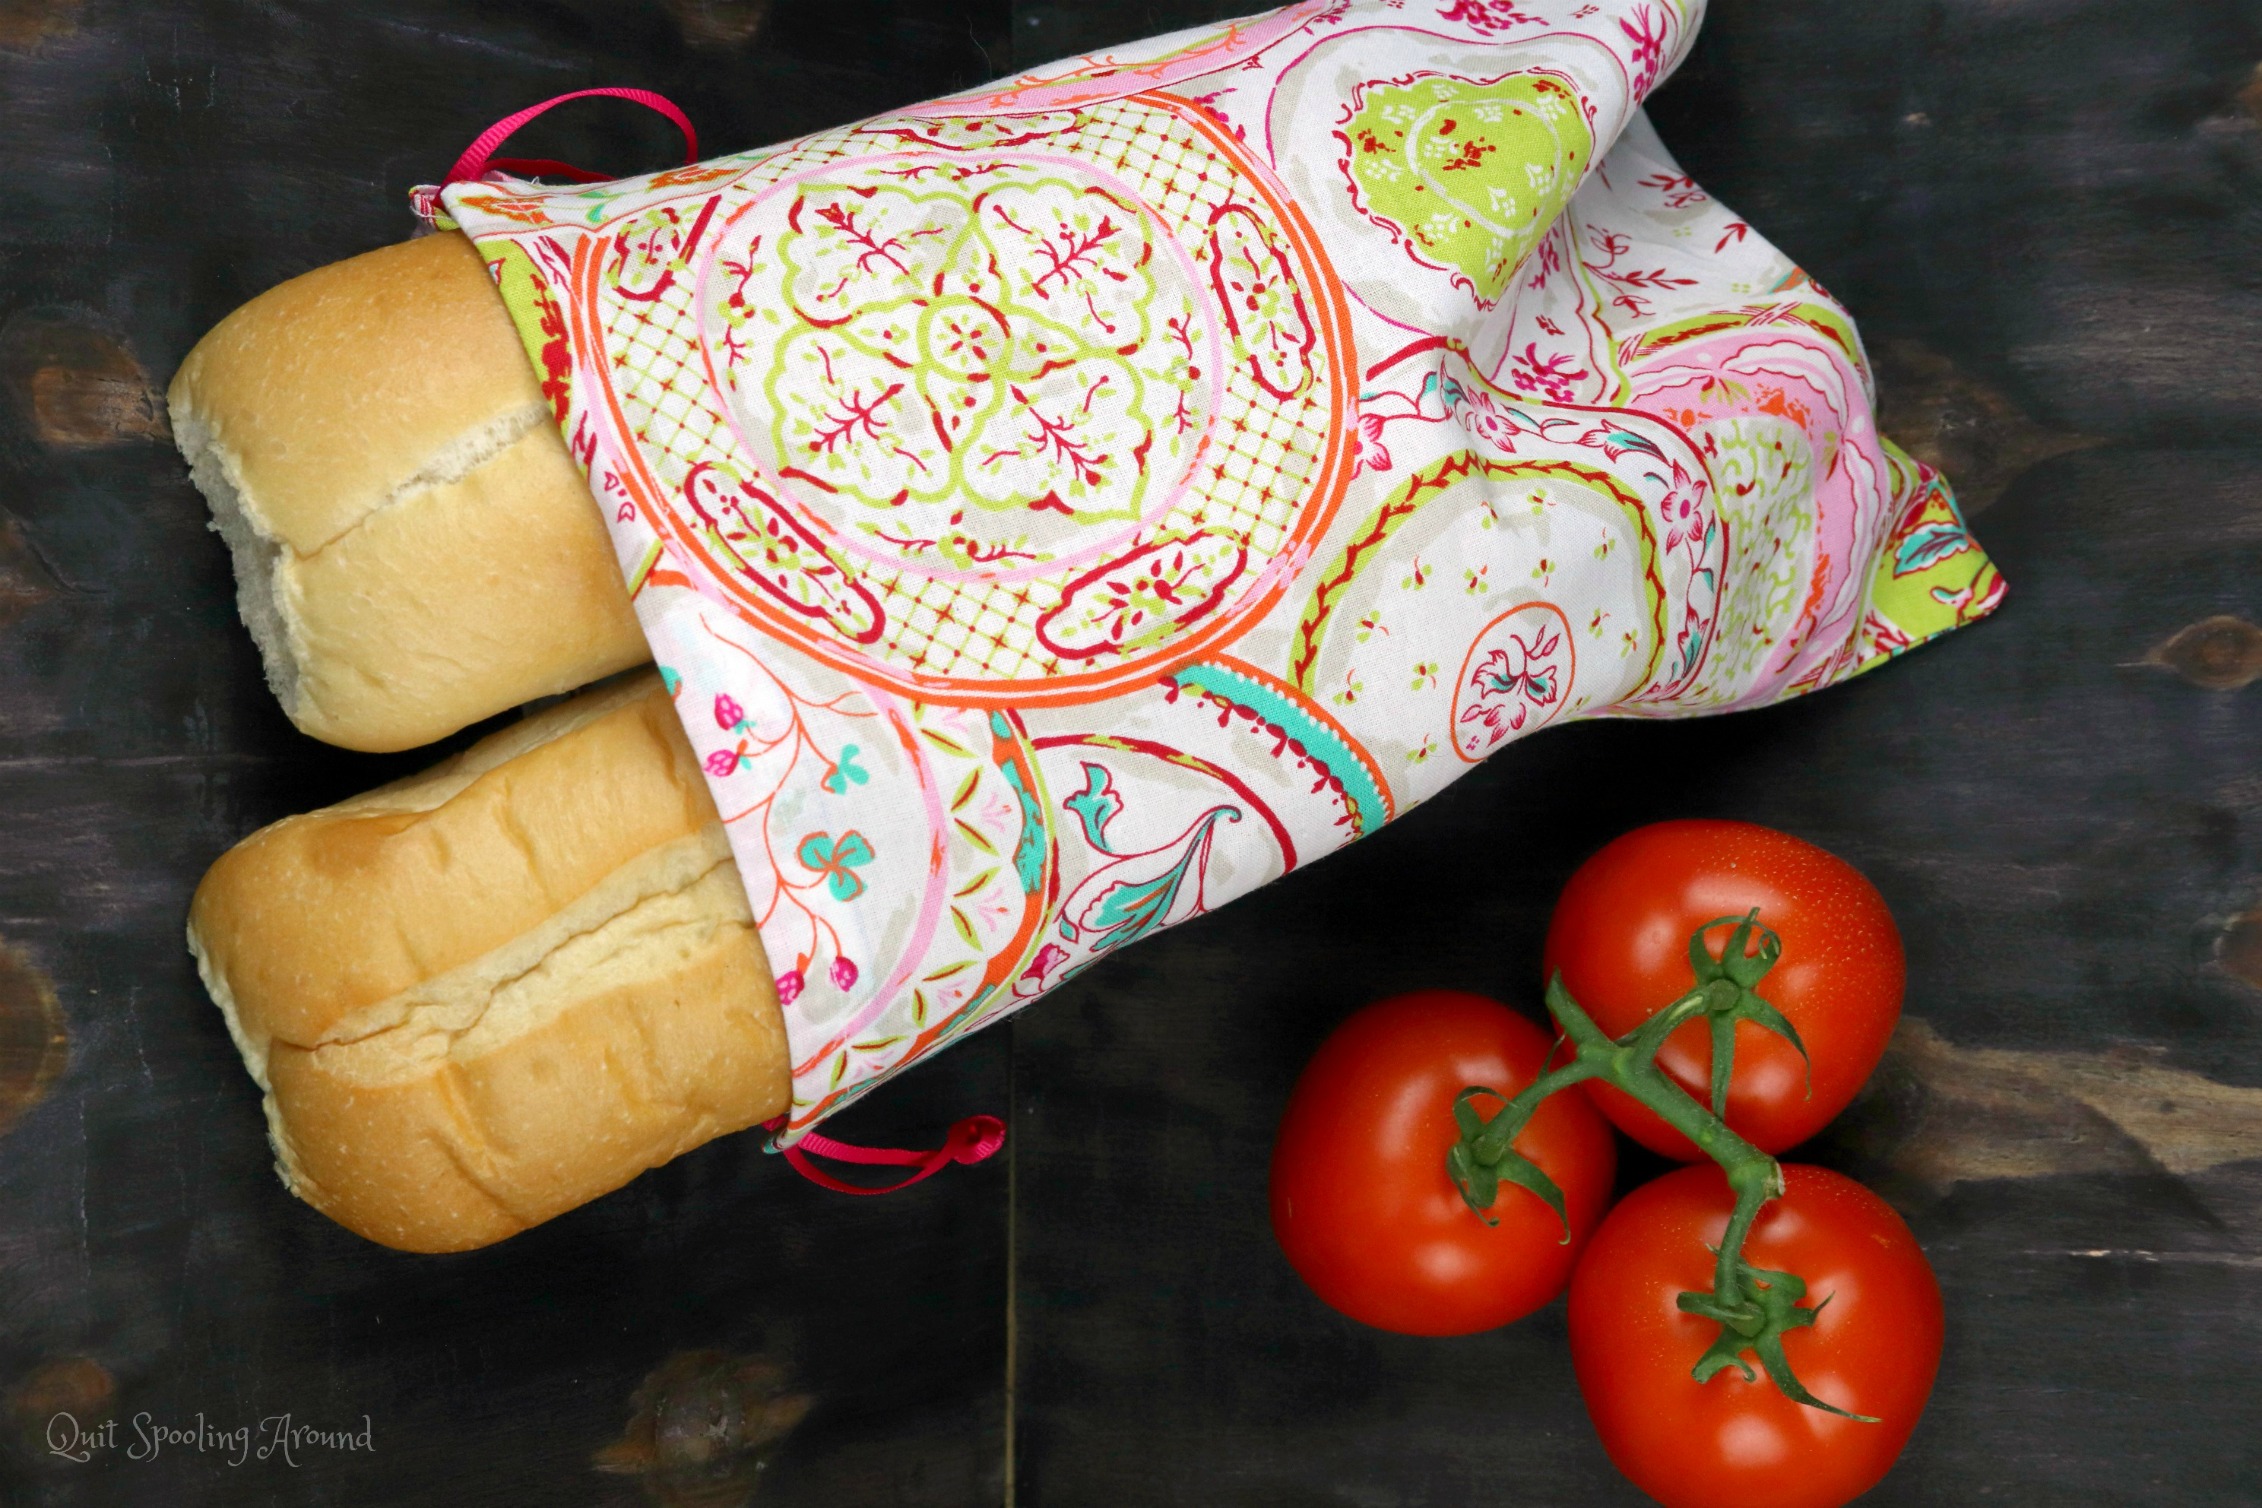
These easy sew produce bags have been on my mind now for quite a while – I’m so glad I finally got them done! This simple sewing project is wonderful to do if you have some extra fabric. Use the finished bags to carry produce home from the market, fresh bread from the bakery or anything you wish!
Follow this simple tutorial to make your own easy sew cloth drawstring bags to have and use at home.
Easy Sew Cloth Drawstring Bag
Materials Needed:
-
- 1/2 yard cotton fabric (I got mine from Amazon)
- Complimentary colored ribbon
- Washable fabric pen (I got mine from Amazon)
- Rotary cutting mat set (I got mine from Amazon)
- Scissors (I prefer pinking shears (I got mine from Amazon)
- All-purpose thread
- Wonder sewing clips or pins (I got my clips from Amazon)
- Sewing machine (I got mine from Amazon)
Step by Step Instructions:
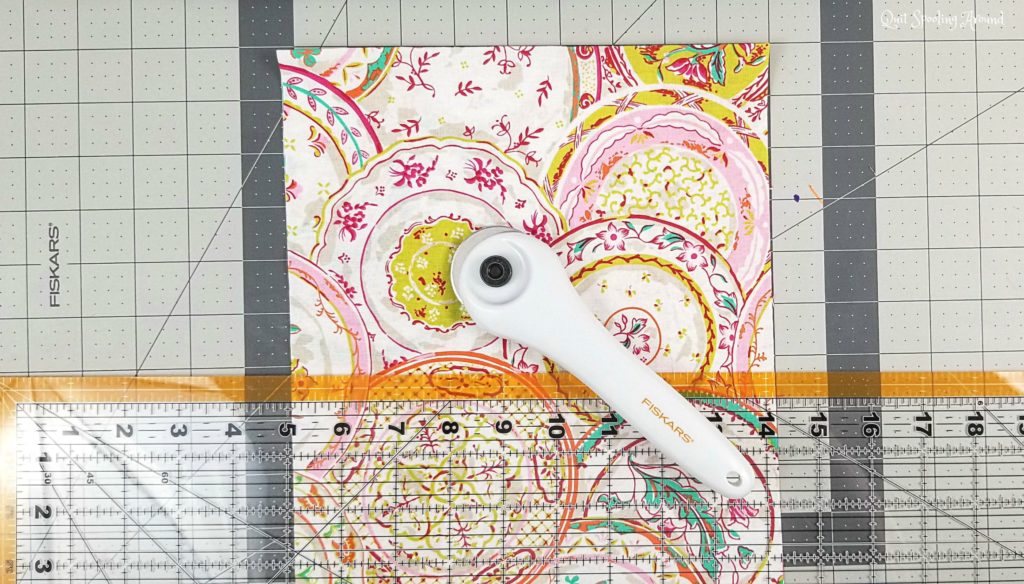
Step 1: Cut one 9”x24” piece of fabric. Fold in half, so the fold is on the bottom. You can also place two pieces of fabric, 9”x12”, right sides together.

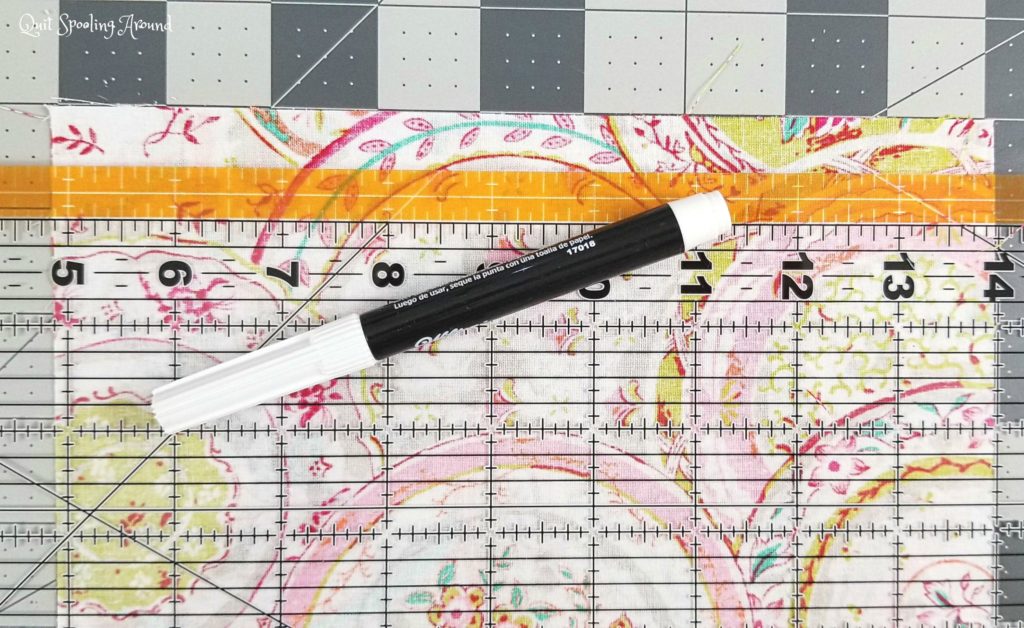
Step 2: Mark a line across the fabric, 1 1/2” from the top.
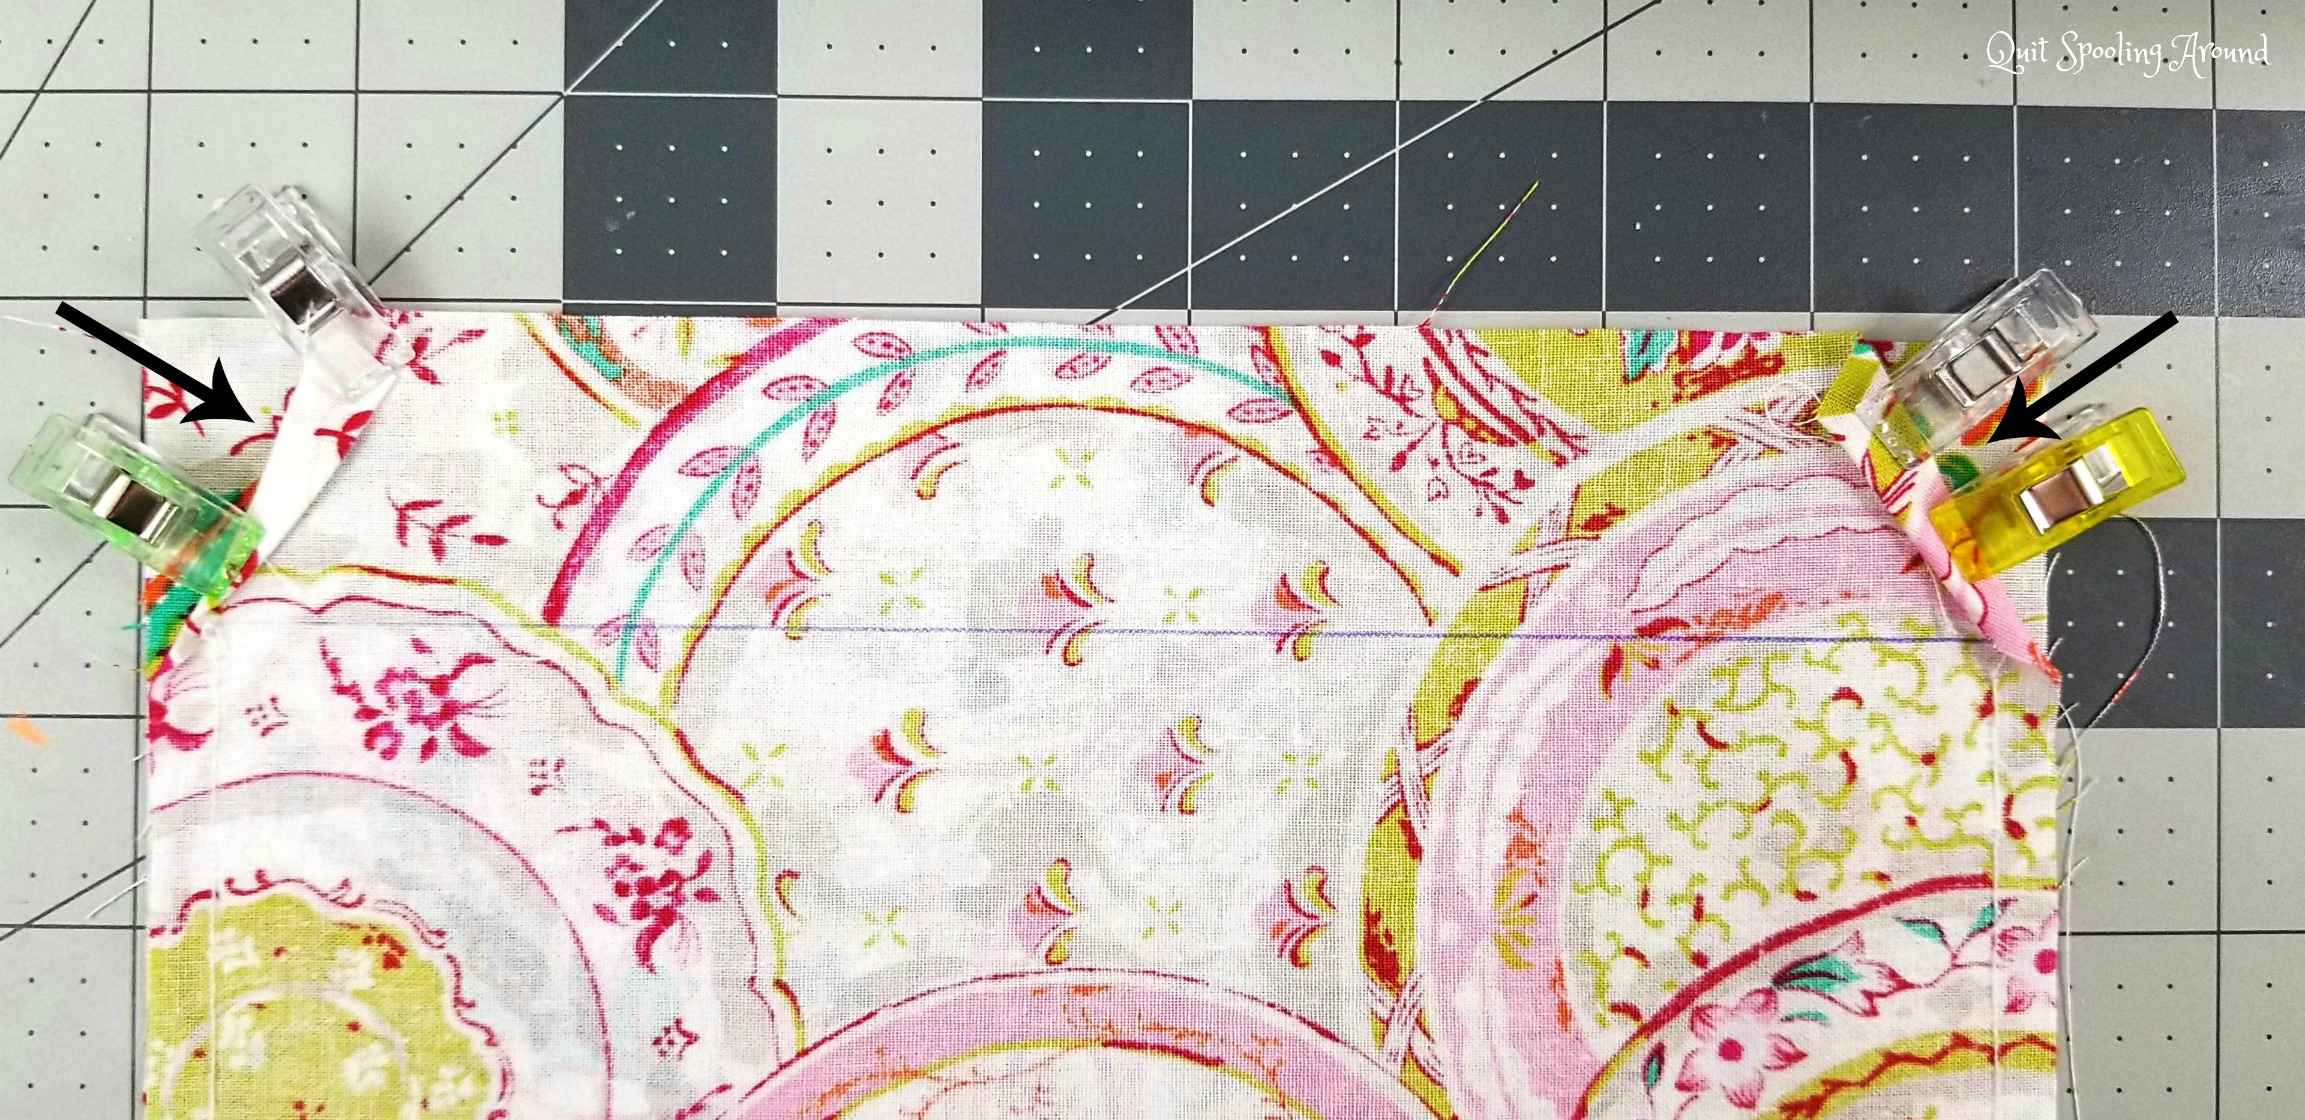
Step 3: If you folded your fabric, sew along the sides, stopping at the line you marked. If you cut 2 pieces, sew along the bottom, and then along the sides, stopping at the line you marked.
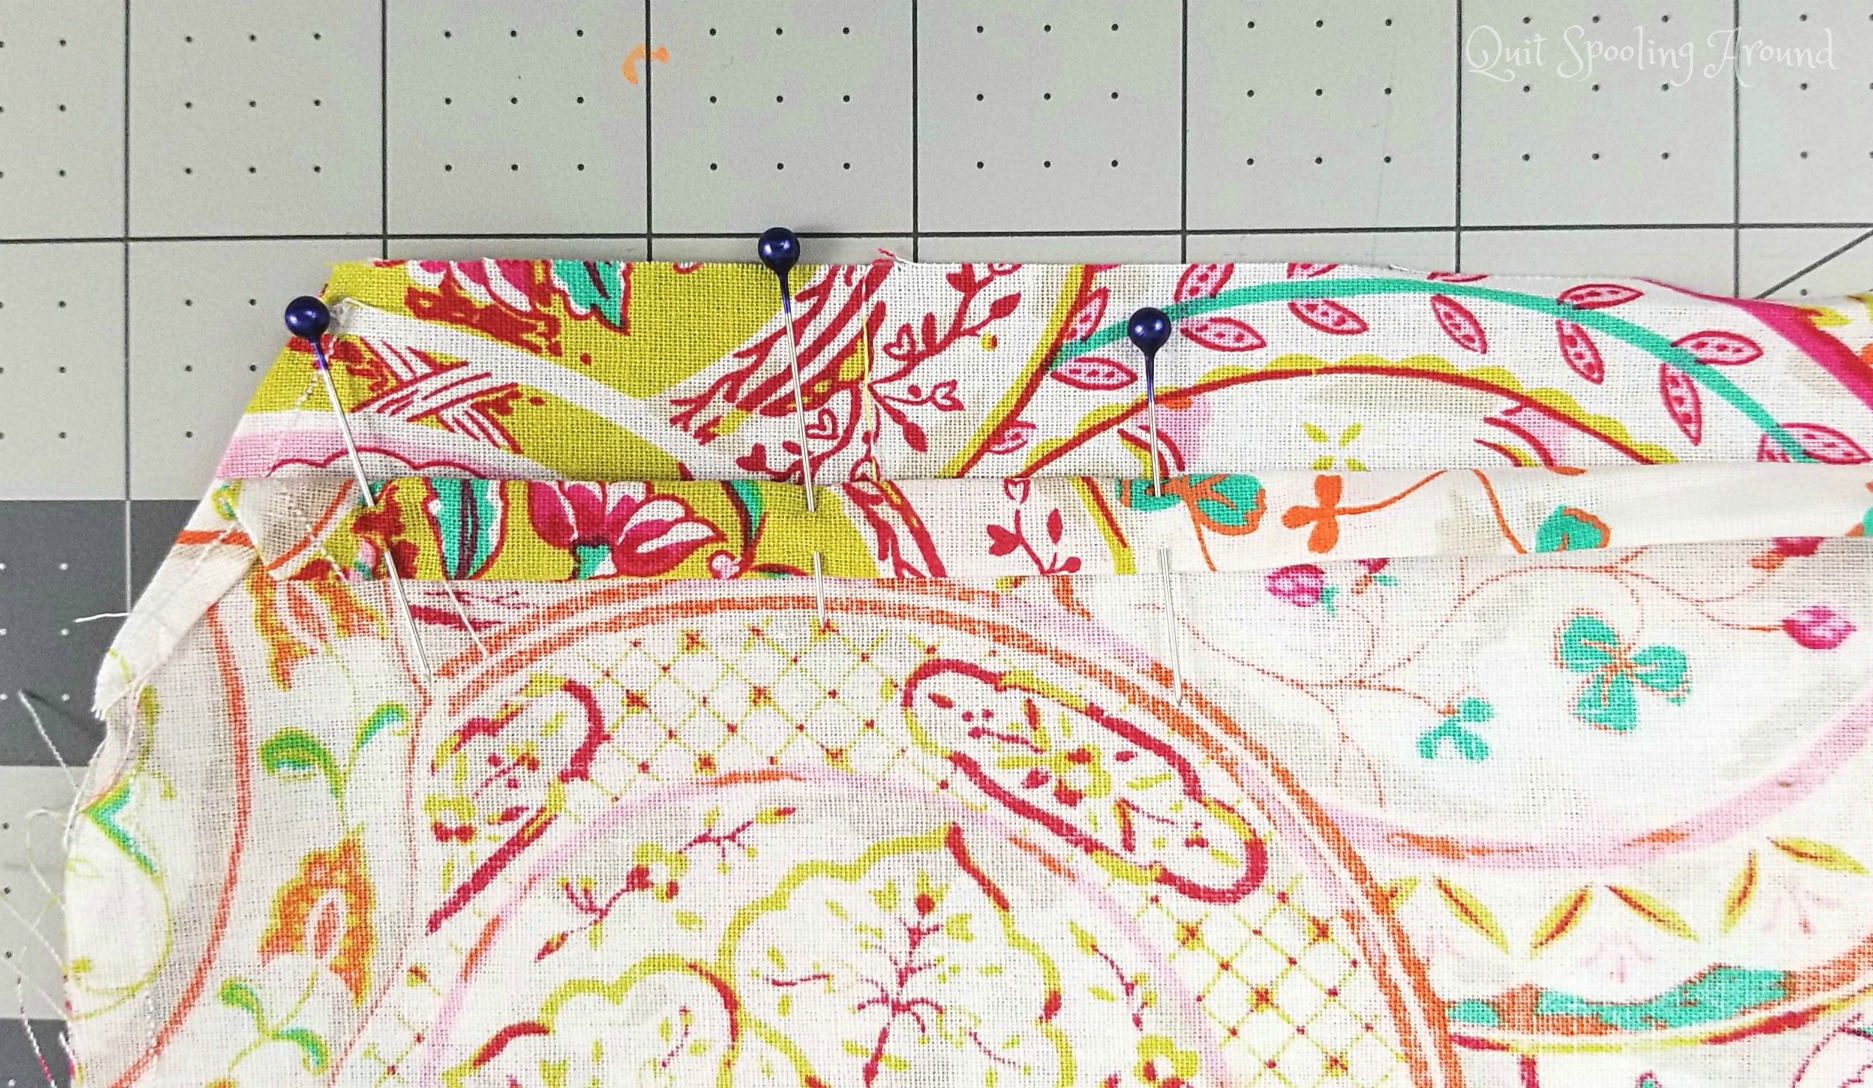
Step 4: Take the top corner of one side, and fold into a thin triangle, and then fold again and pin or clip into place. Repeat on the other 3 corners. Sew each triangle into place, sewing a line down the middle.
Step 5: Fold the top of the fabric down ¼” and then fold it down ¼” again, press and pin. Repeat on the other side.
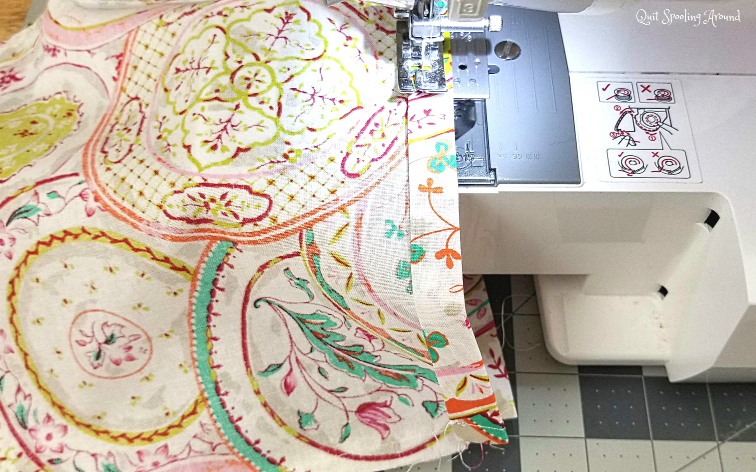
Step 6: Fold over again, touching the line you drew and press. Sew a 1/4” seam allowance on each side. Turn right side out and press.
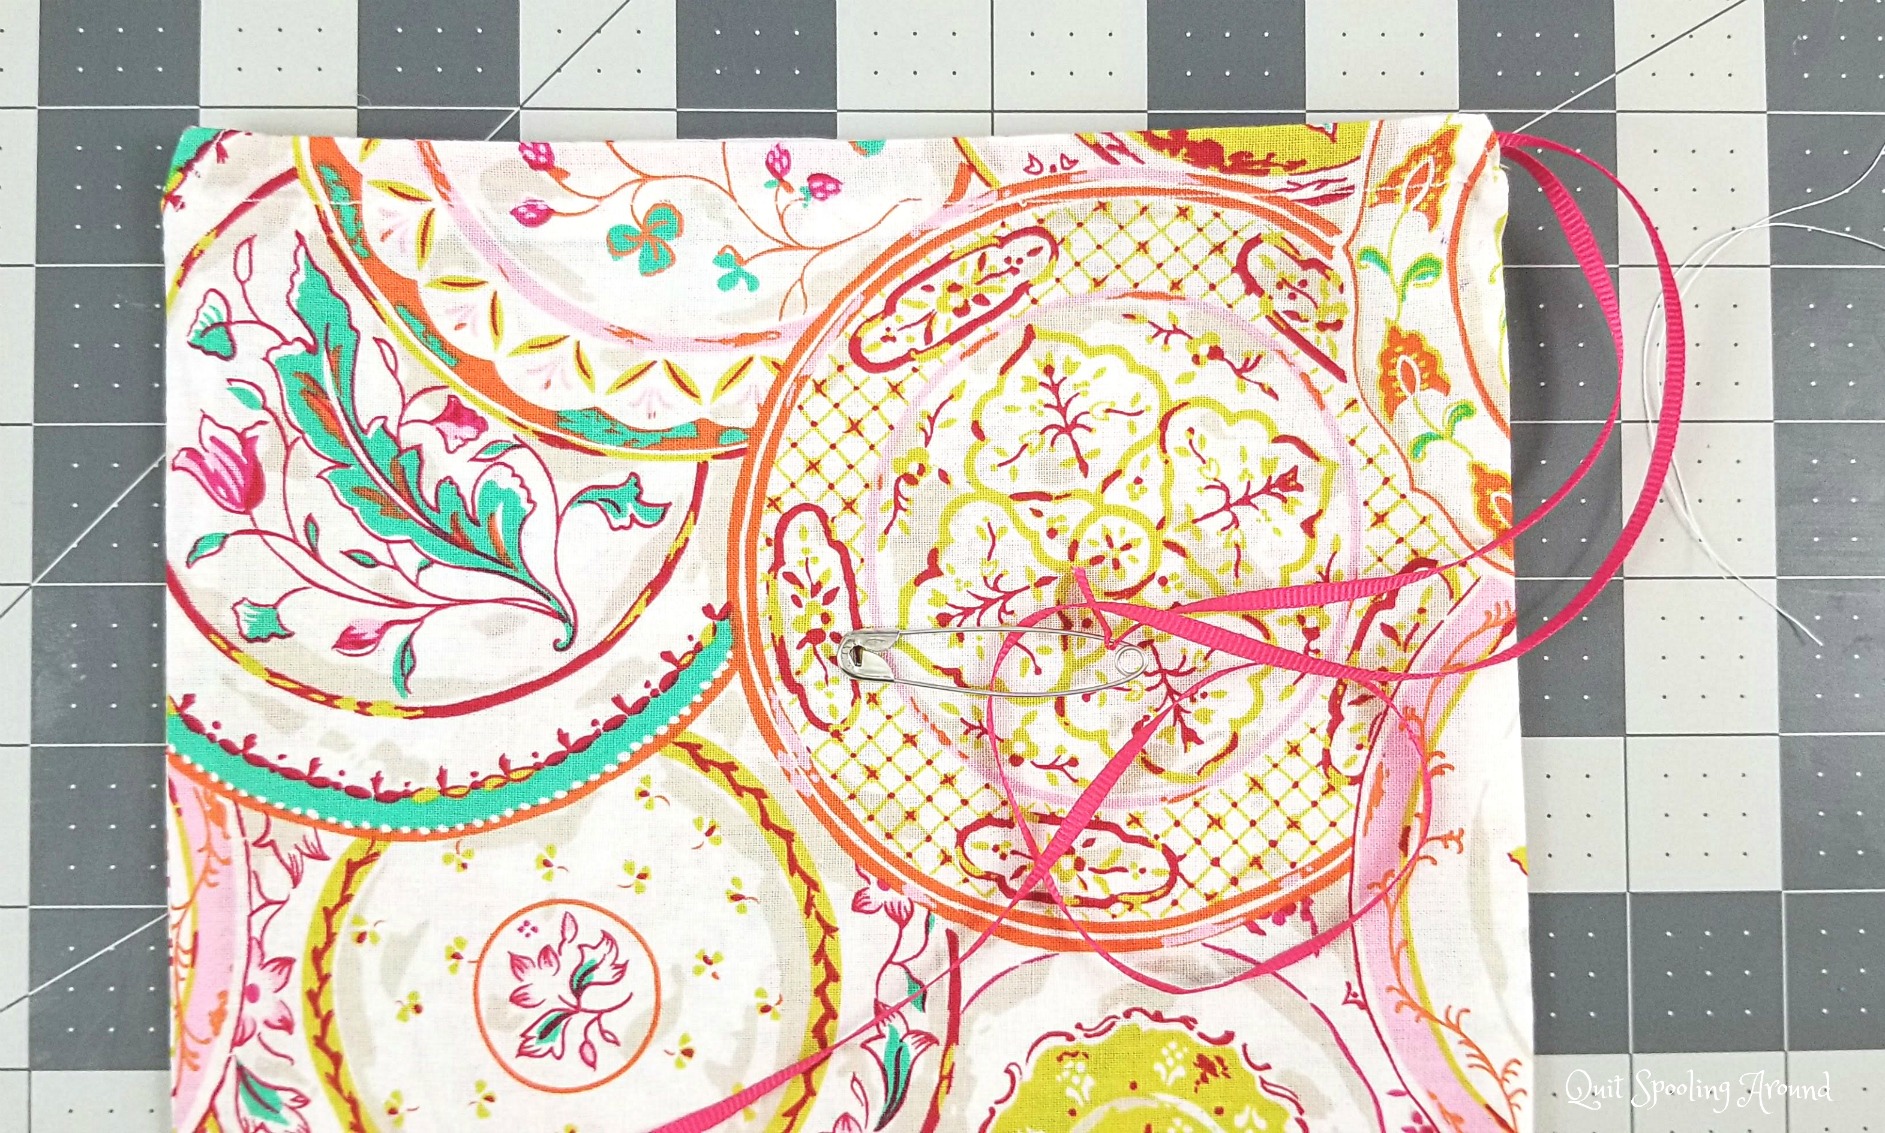
Step 7: Cut a length of ribbon 24”. Cut the ribbon in half. Using a safety pin, thread one length of ribbon through one side of the casing.
Step 8: Tie a knot on either end of the ribbon. Repeat on the other side. Fill with produce and enjoy!
That’s it!
This bag is a super easy sewing project that you can conquer in no time! Make one or whip up several – stash a bunch in the car and use them at the market.
Use some holiday cotton fabric and whip up several to hold treats and holiday cookies and you can give as gifts to neighbors, family or even friends!


2 Comments
PJ
December 3, 2019 10:42 pmLooks good.
admin
January 6, 2020 4:33 amThanks PJ.
Leave a Reply