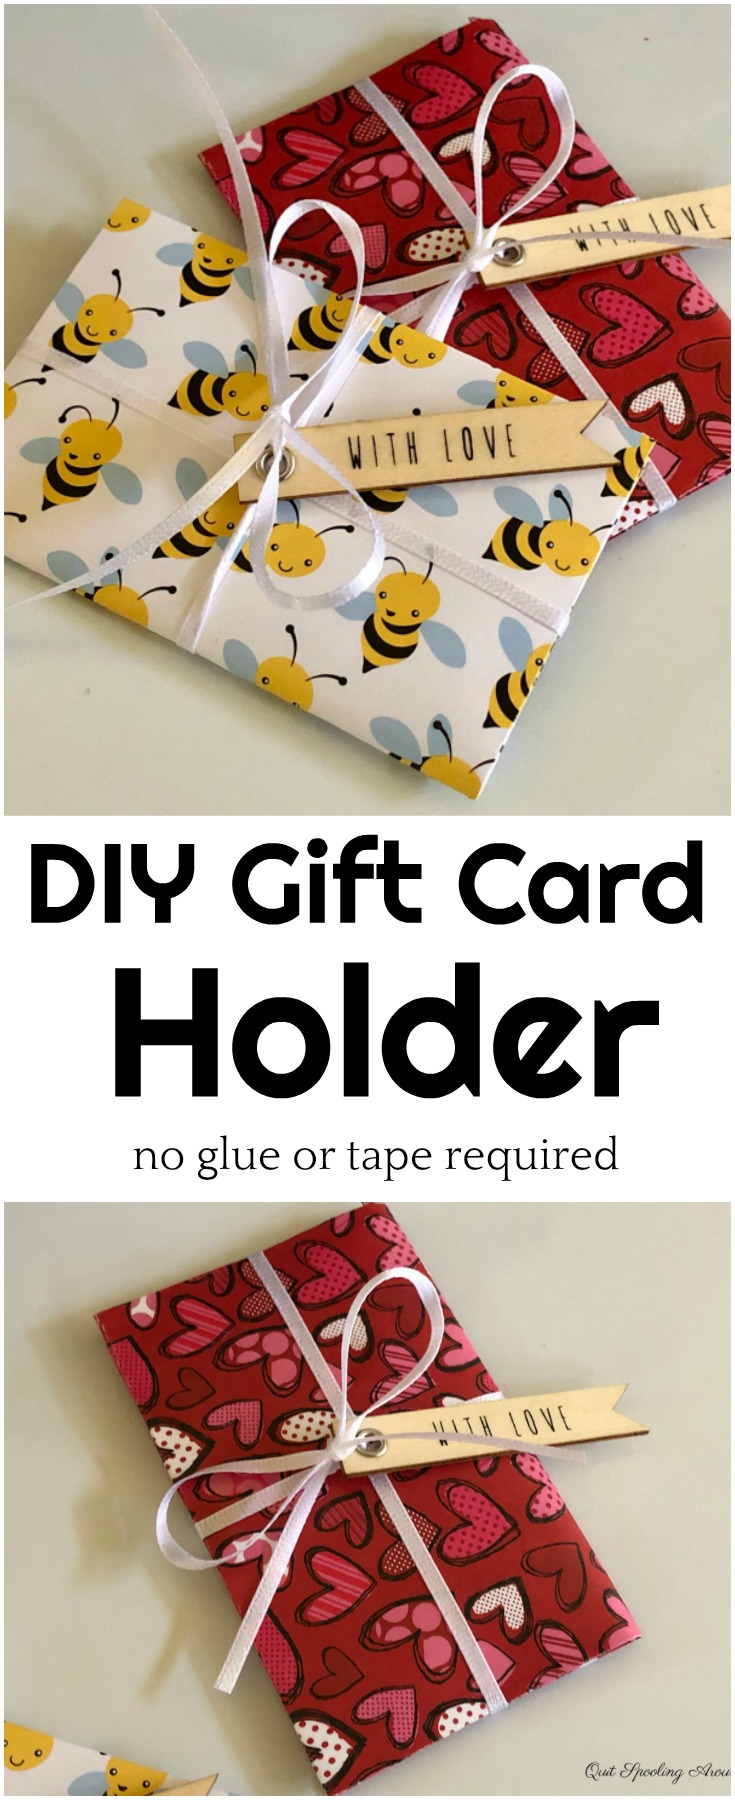
Transform a simple sheet of decorative paper into an adorable gift card holder in just a few simple steps – no glue, tape or special tools are required!
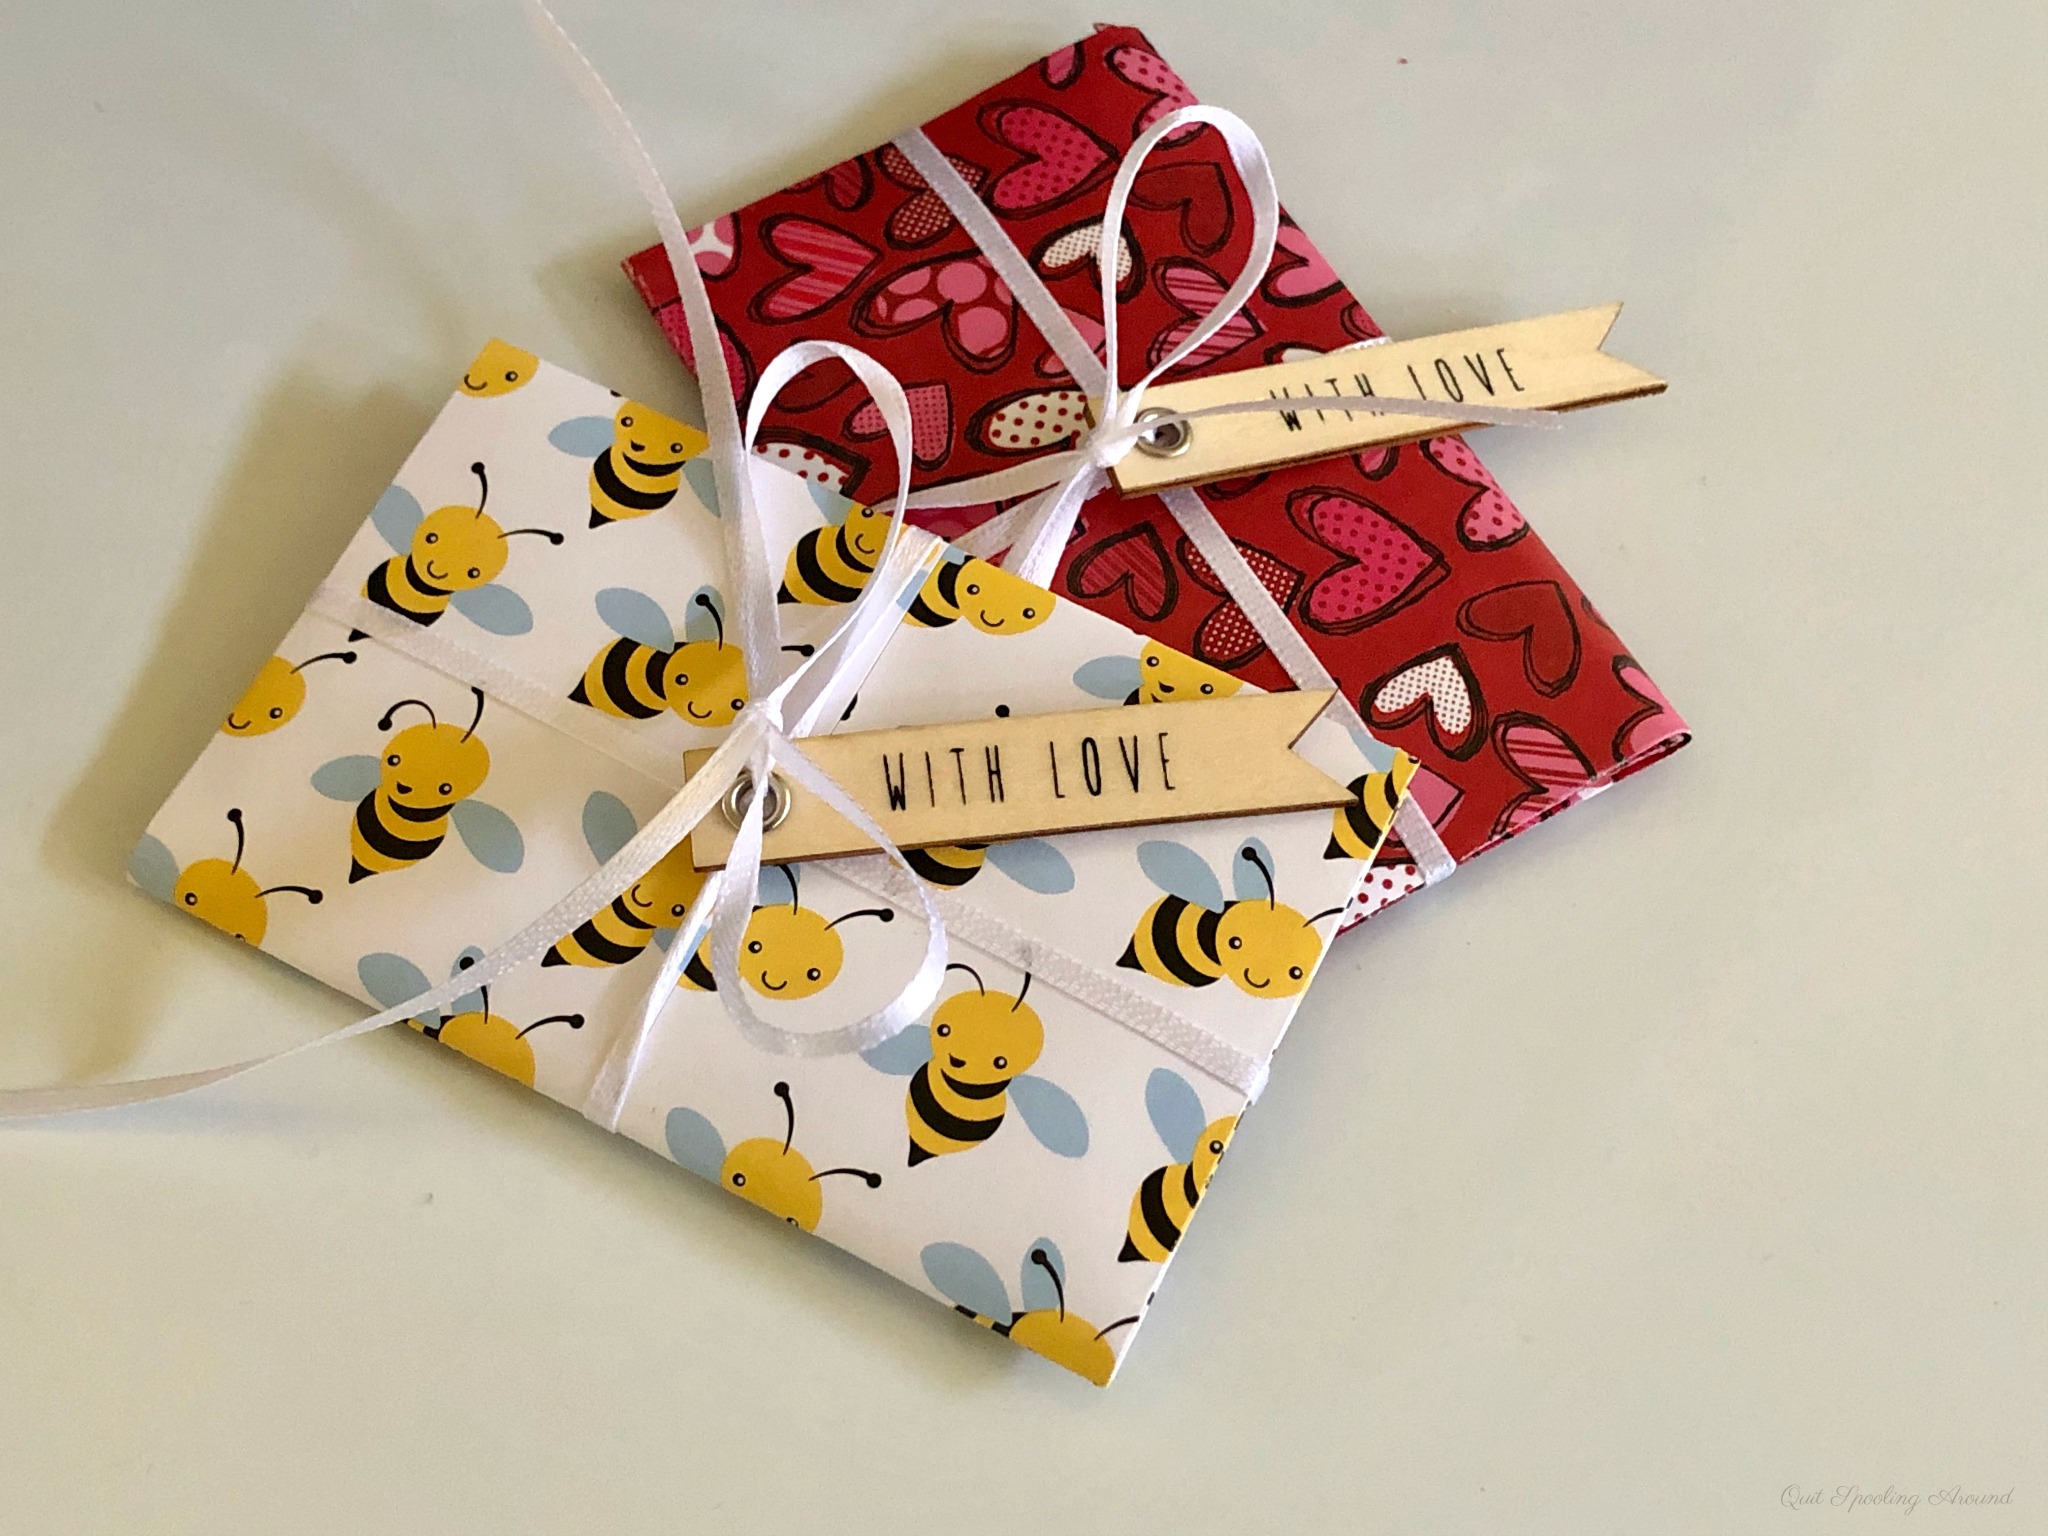
We’re approaching the holiday season and it’s a popular time for many to buy gift cards. Gift cards make fabulous gifts – not just at Christmas, but all year long. As much as I love finding personalized, handmade gifts, I admit that I do buy a considerable amount of gift cards.
Gift cards make great gifts for the men in my life (brother, grandpa…) It’s almost like I don’t have to think “too hard” about a gift – I know where they love to eat.
I know where they shop.
And I know they will get used and save the recipient money at the same time.
One of the biggest challenges I have though is finding a way to “gift” the gift card in a way that’s cute and personal. This DIY gift card holder is SO easy to make and all you need is an 8.5 x 11 sheet of decorative paper.
Where do I find decorative paper?
I love to get my decorative paper at Hobby Lobby – though Michael’s sells it too! You can usually find it at Hobby Lobby priced at 4/$1.00 ($.25/sheet) – you can buy one or many at that price. I like to get a variety – seasonal, animal, rainbow, even honeybee and heart themed paper.
Go a step further and pick up some nice ribbon and some tags (I got the tags pictured above at Hobby Lobby for a few dollars too). The tags had 10-15 in a pack so they were a rather great bargain as well (plus I used a coupon to save even more!)
DIY Gift Card Envelope
Making this DIY Gift Card envelope is super easy – all you need is an 8.5 x 11 sheet of decorative paper!
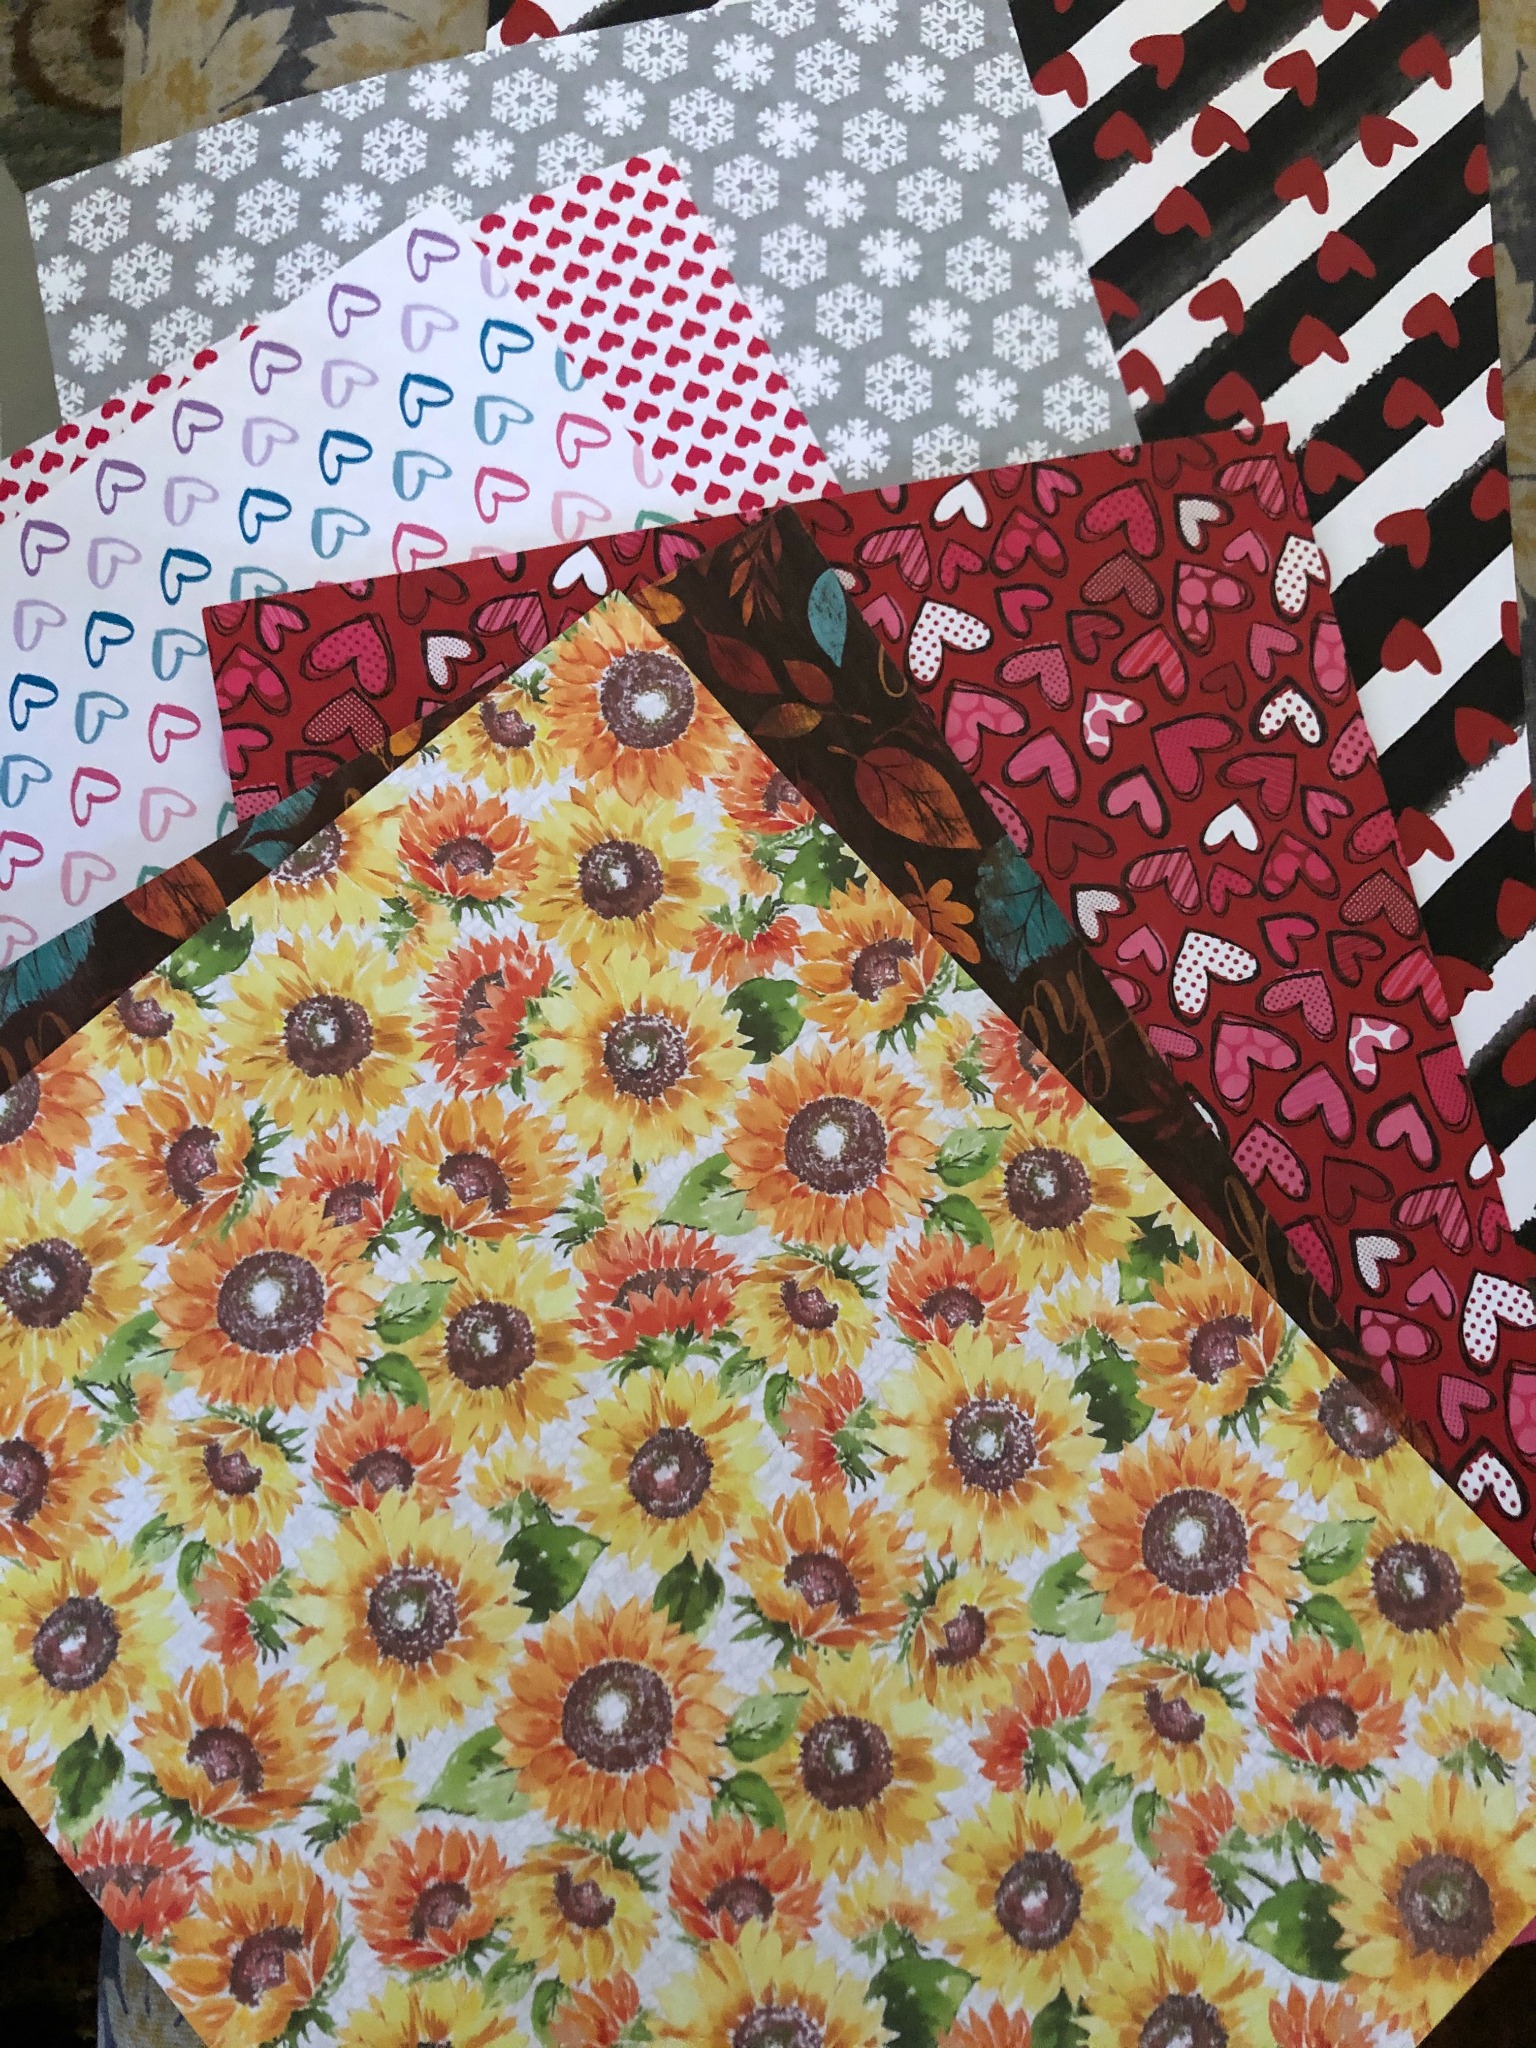
Hobby Lobby has a wide variety of decorative paper in many themes. If you plan on making several of these DIY Gift Card envelopes, grab a bunch of different papers to cover a wide variety of holidays.
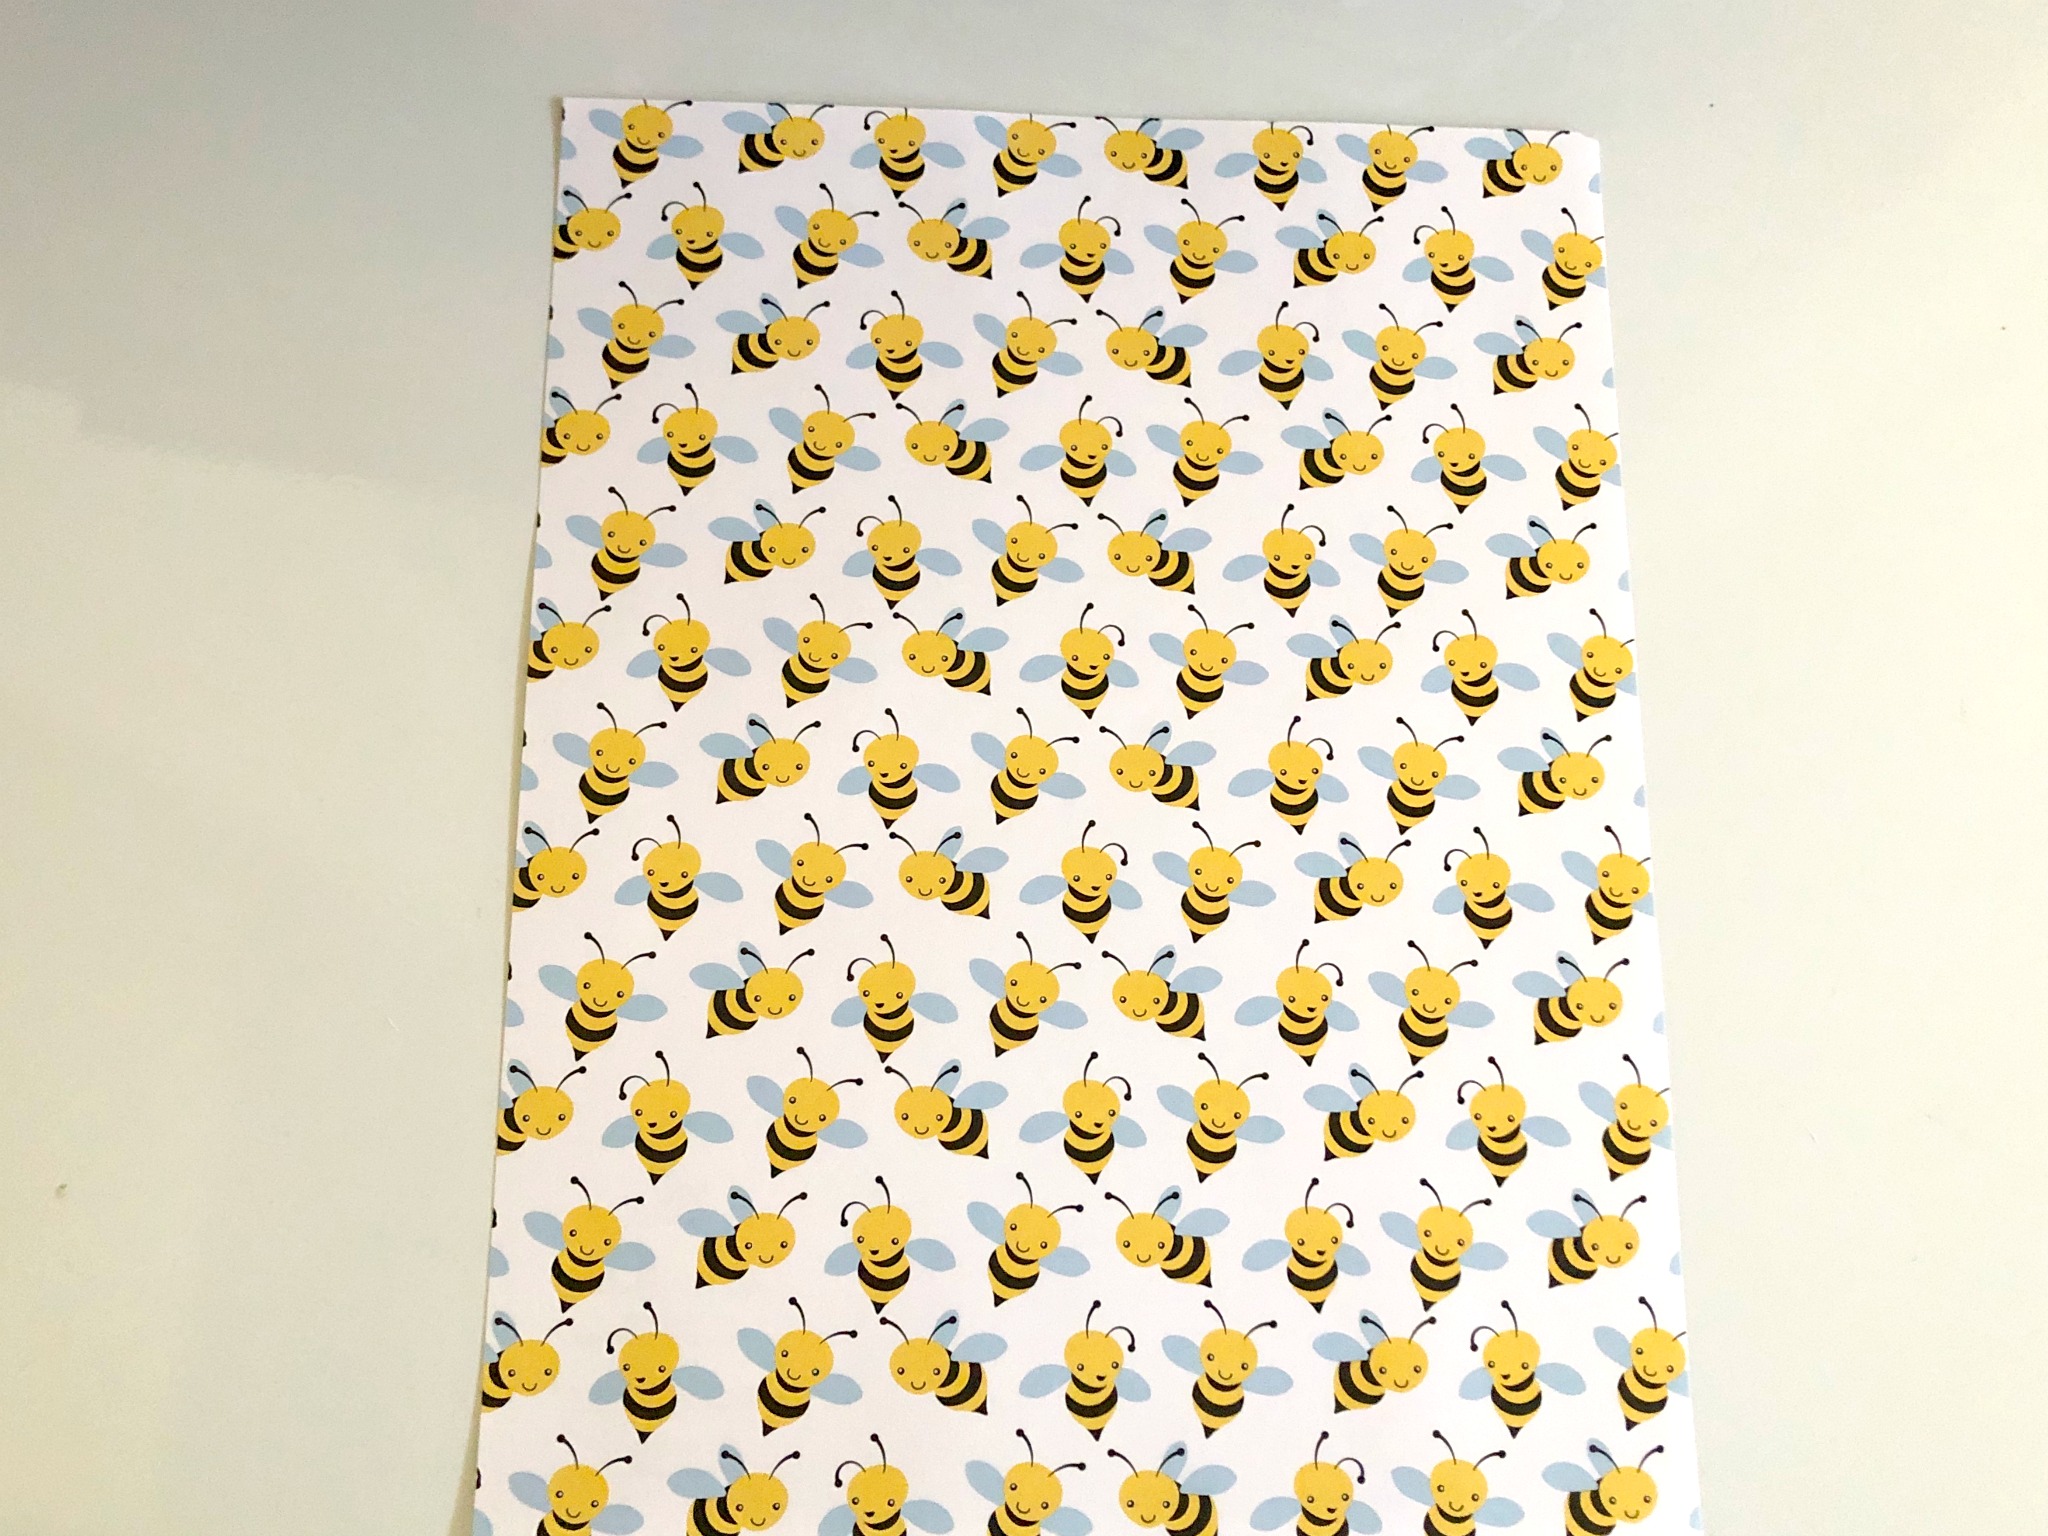
Lay the sheet of paper with the wrong side down.
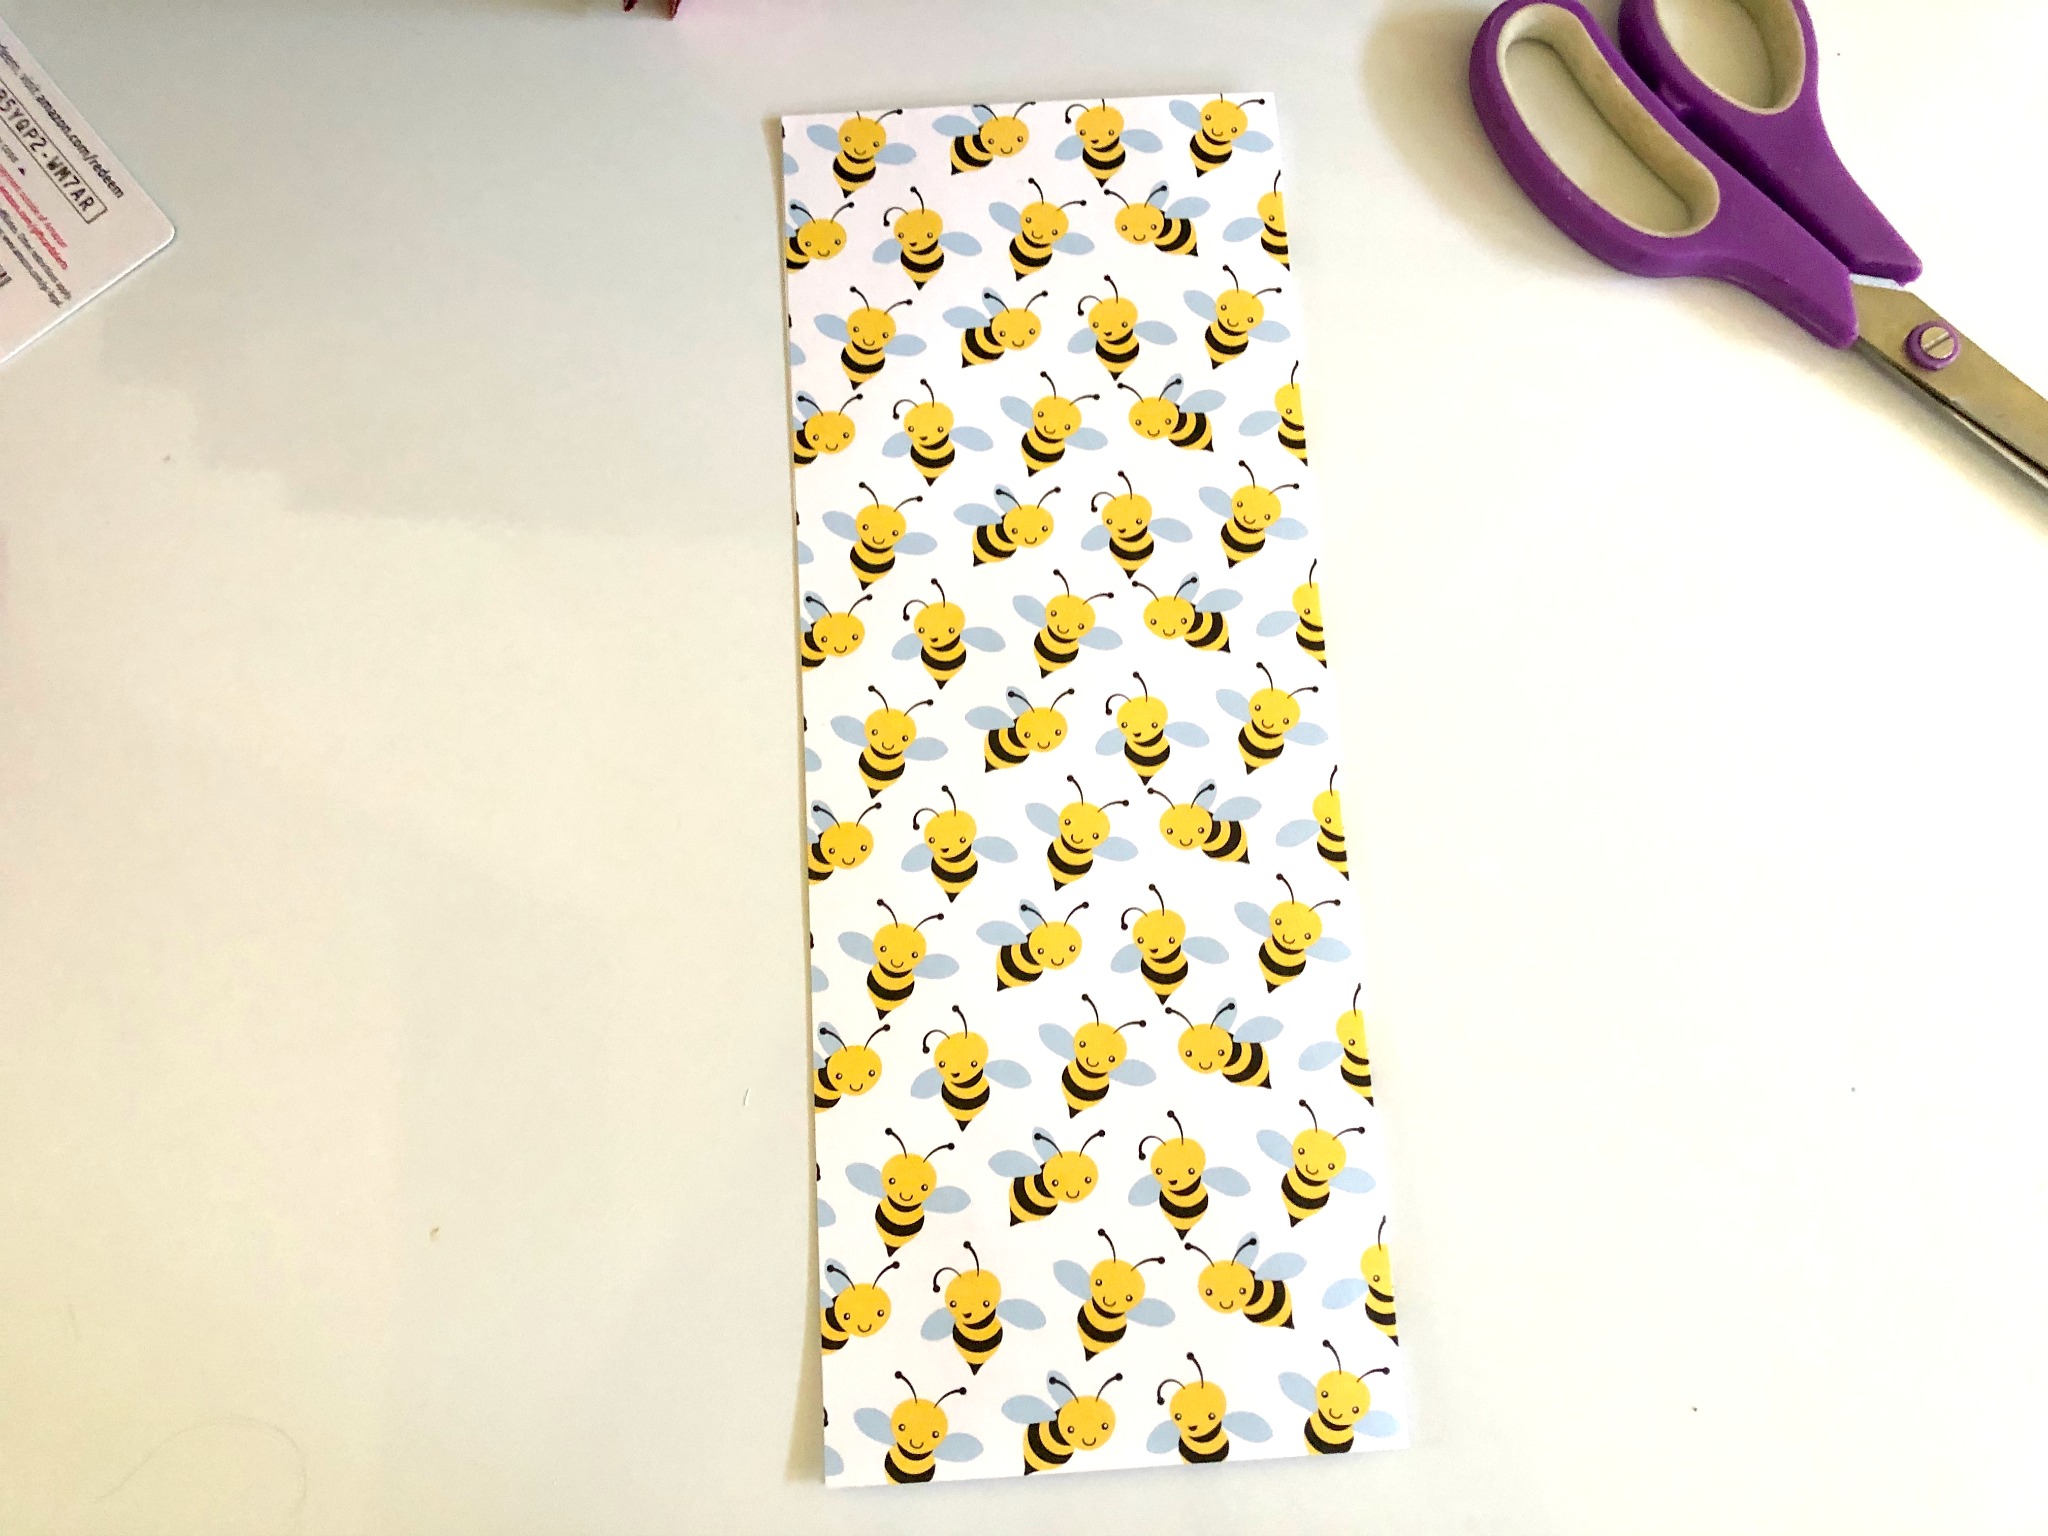
Fold the paper in half, lengthwise. Make sure the right side is facing out (wrong sides folded together).
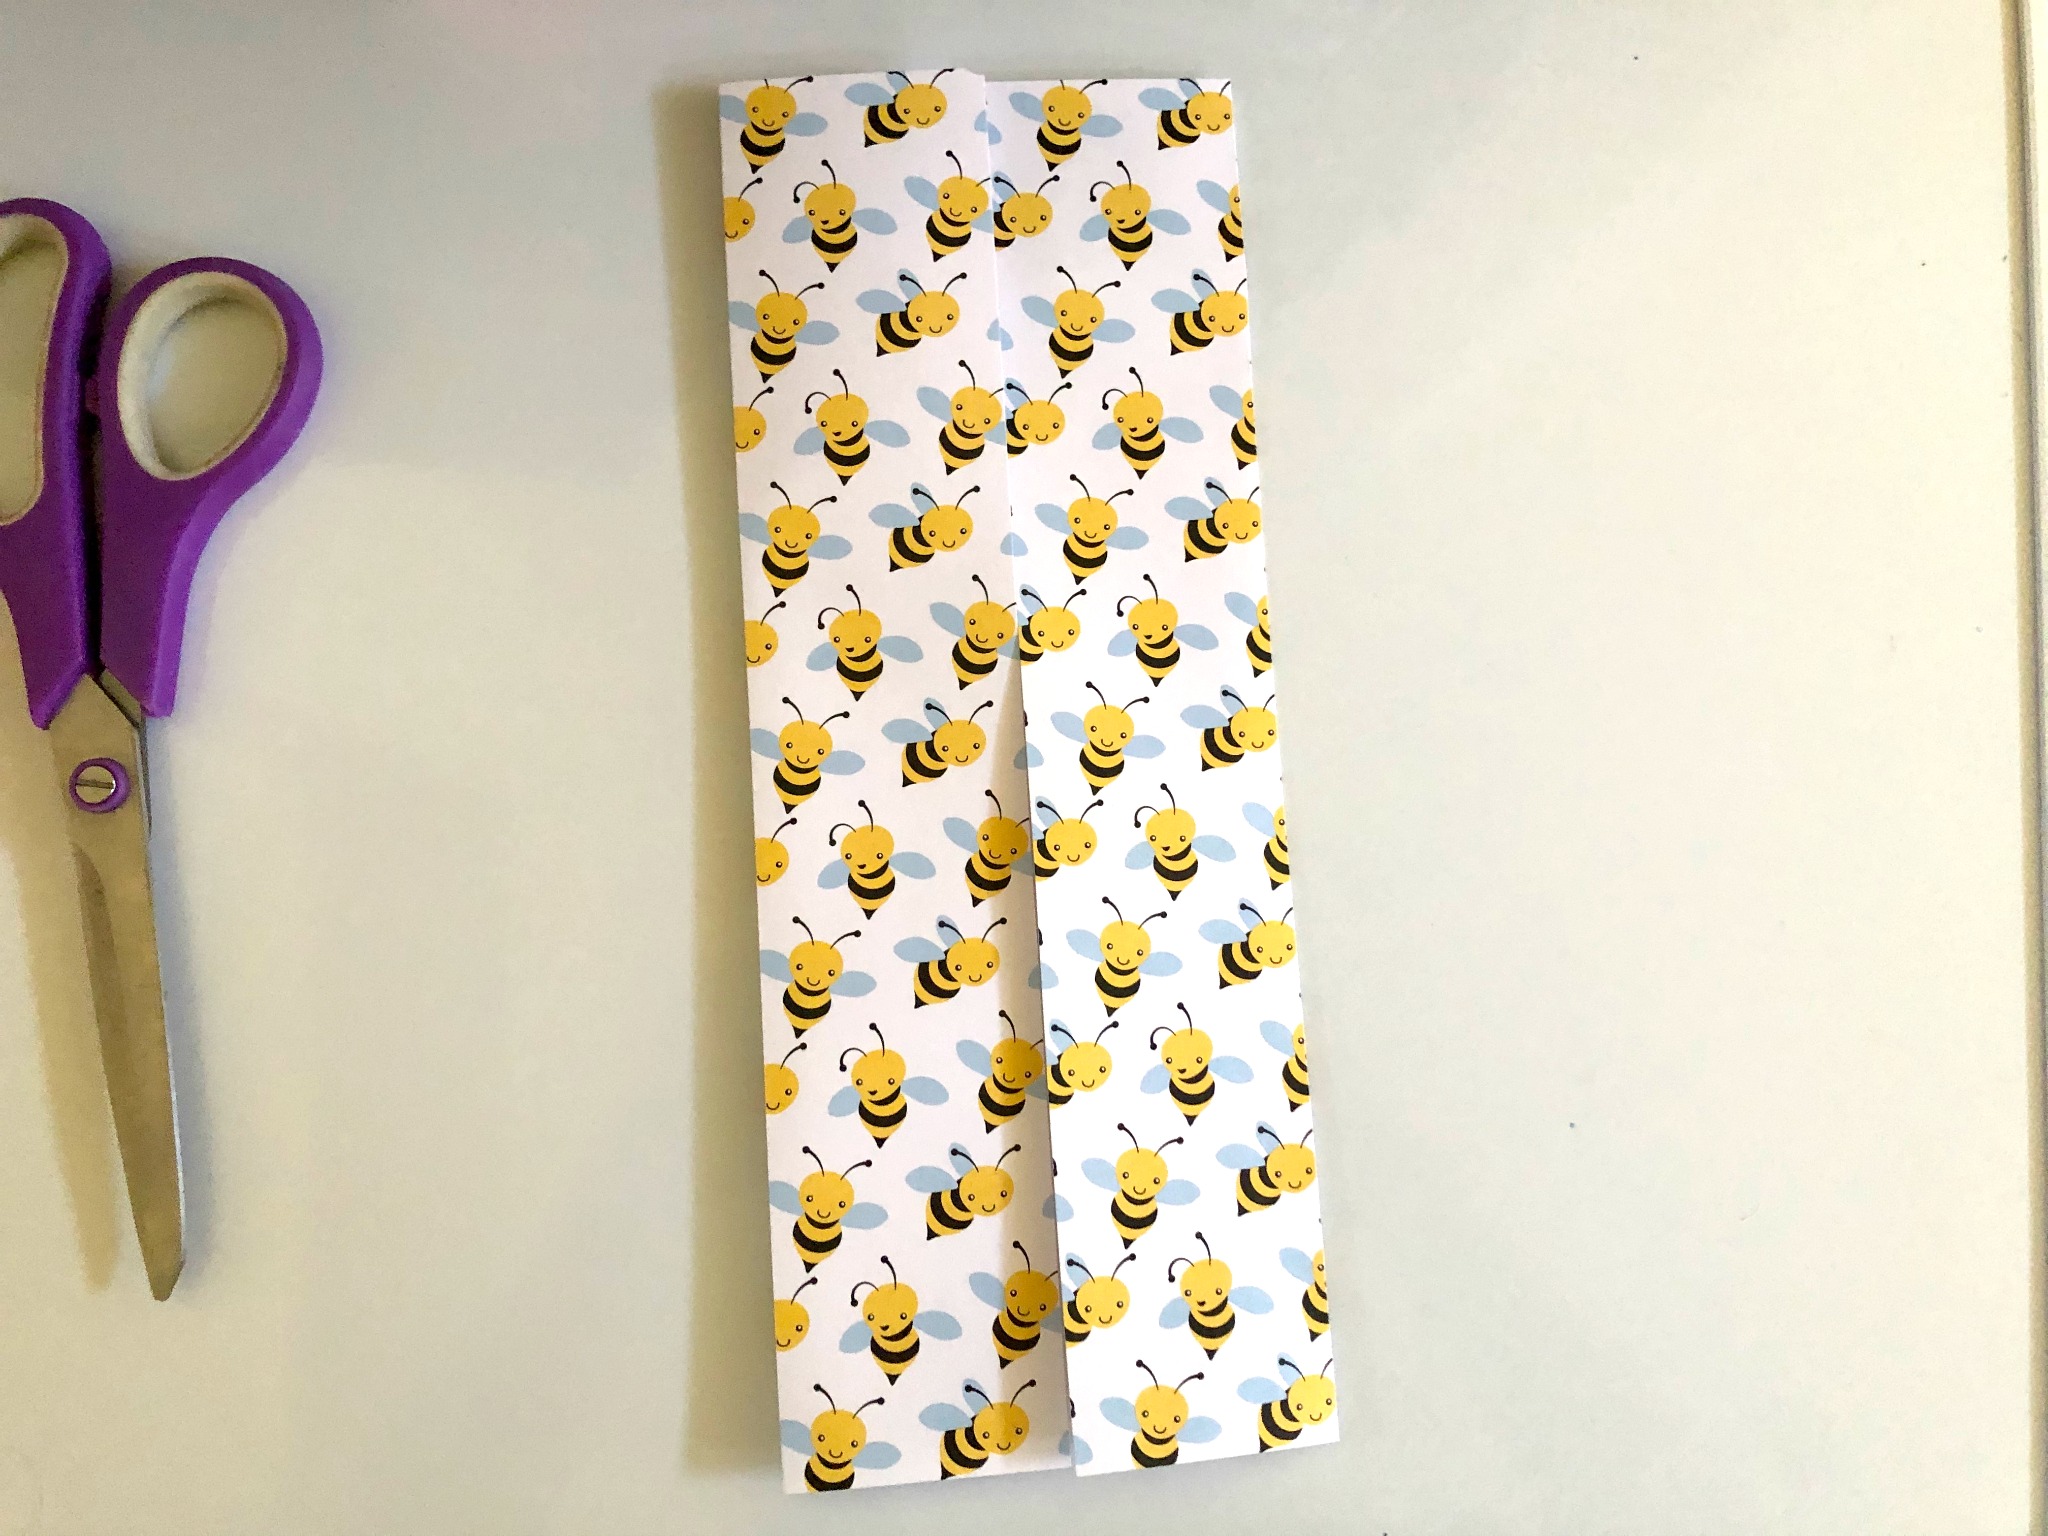
Open up the paper so that the wrong side is facing you. Fold each edge in towards the middle.
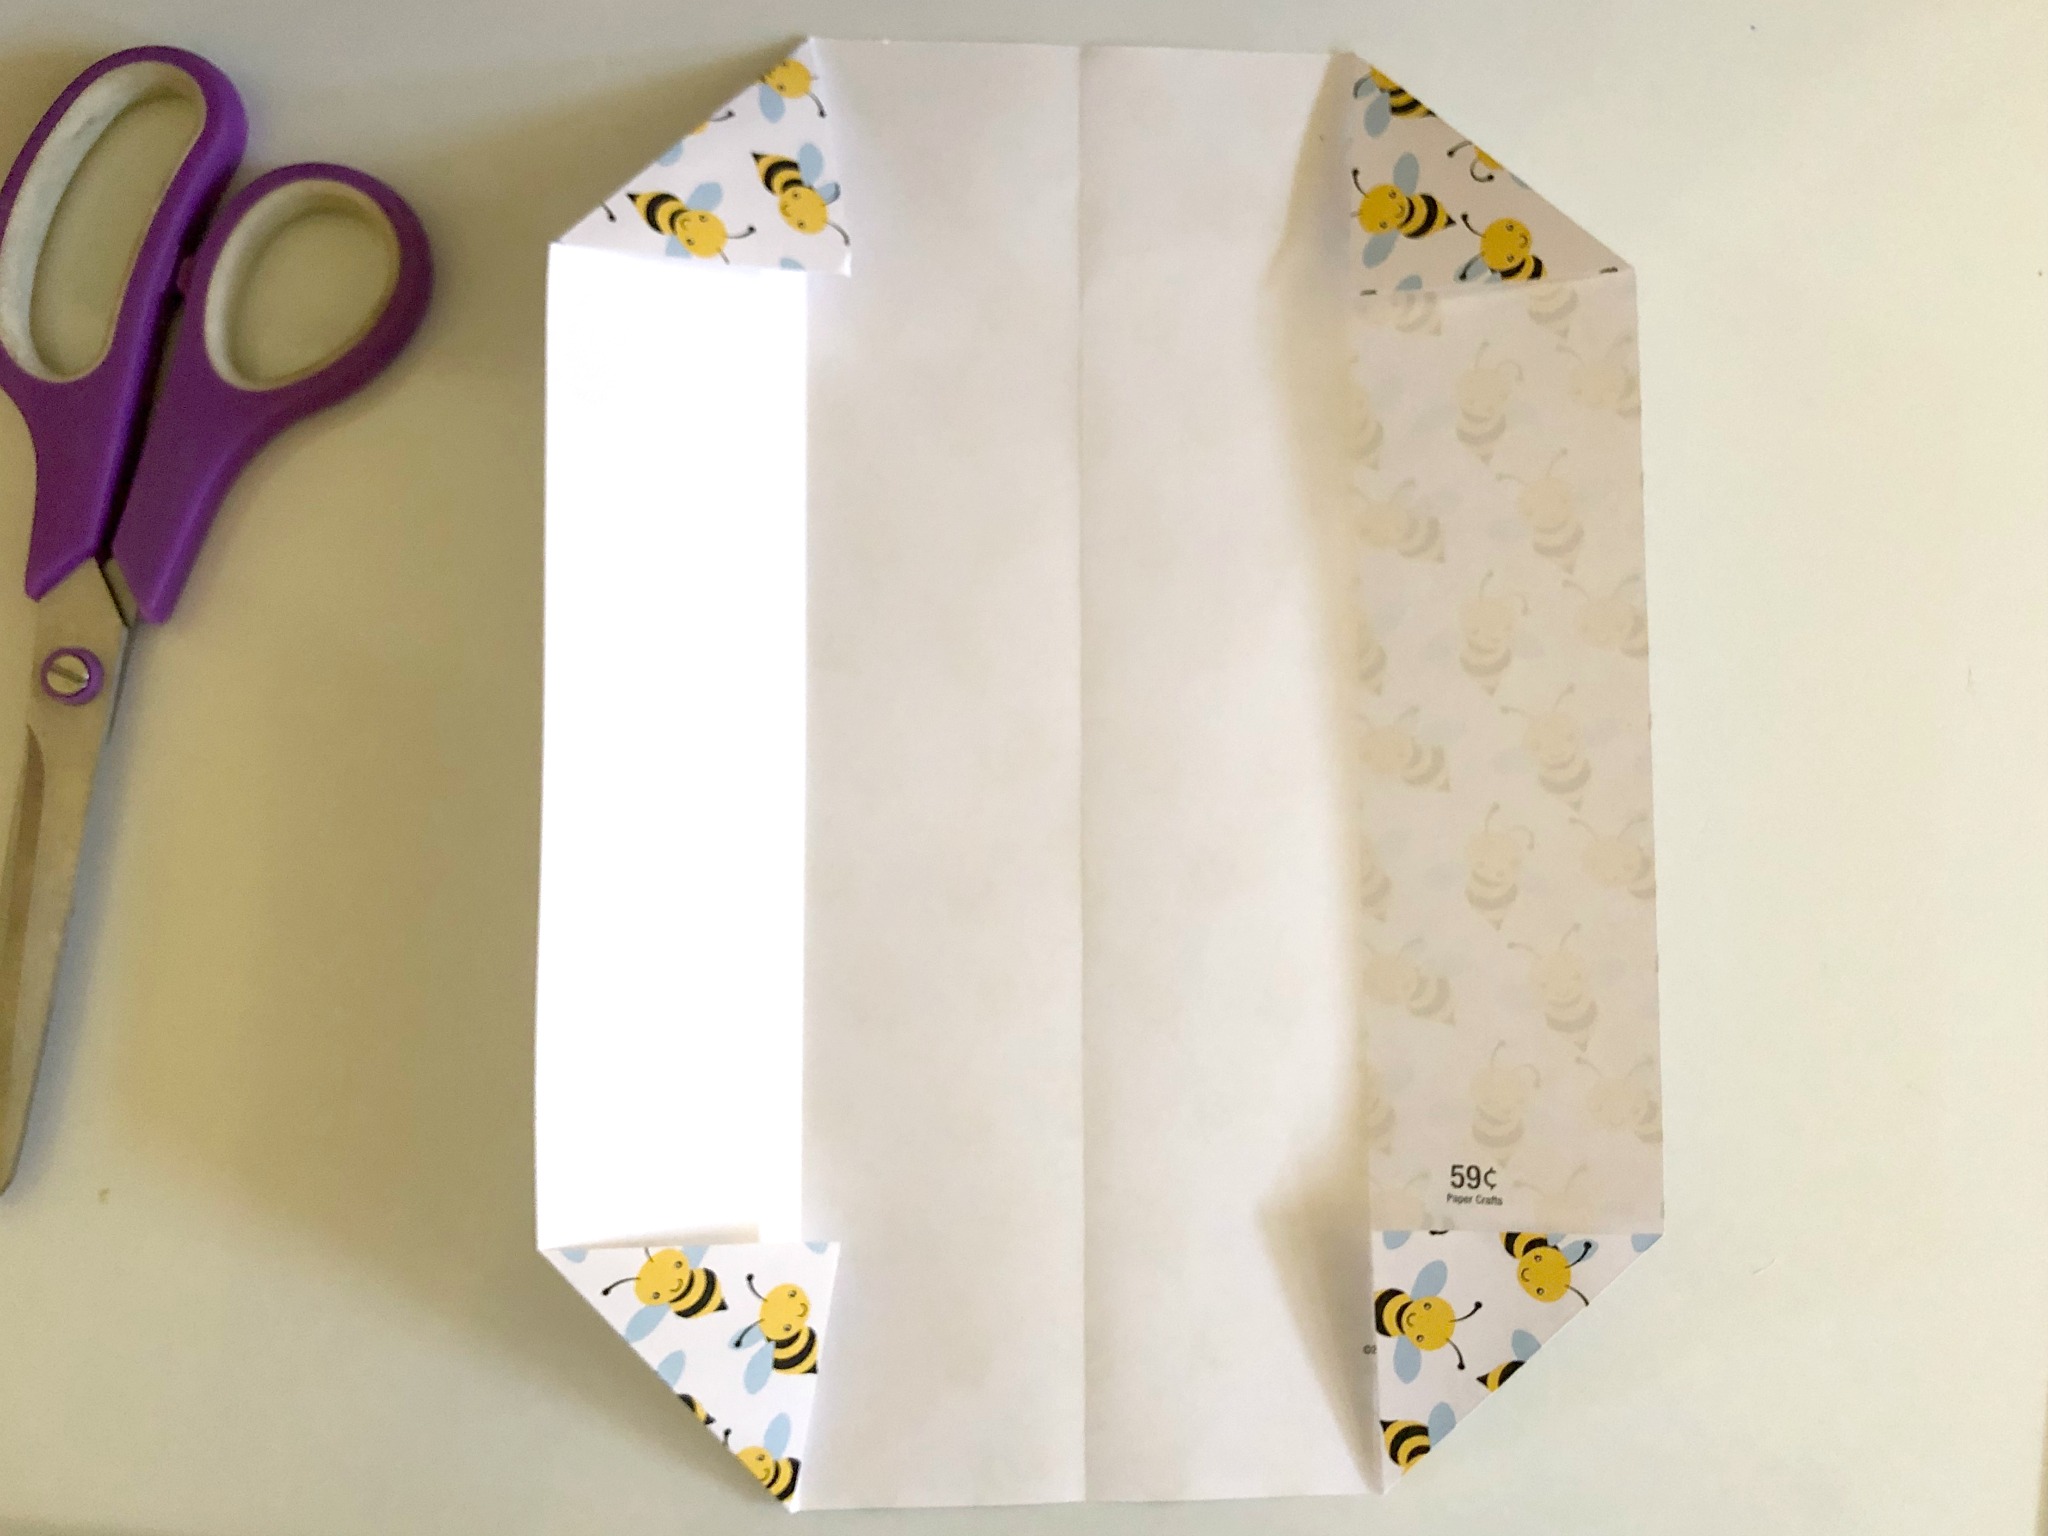
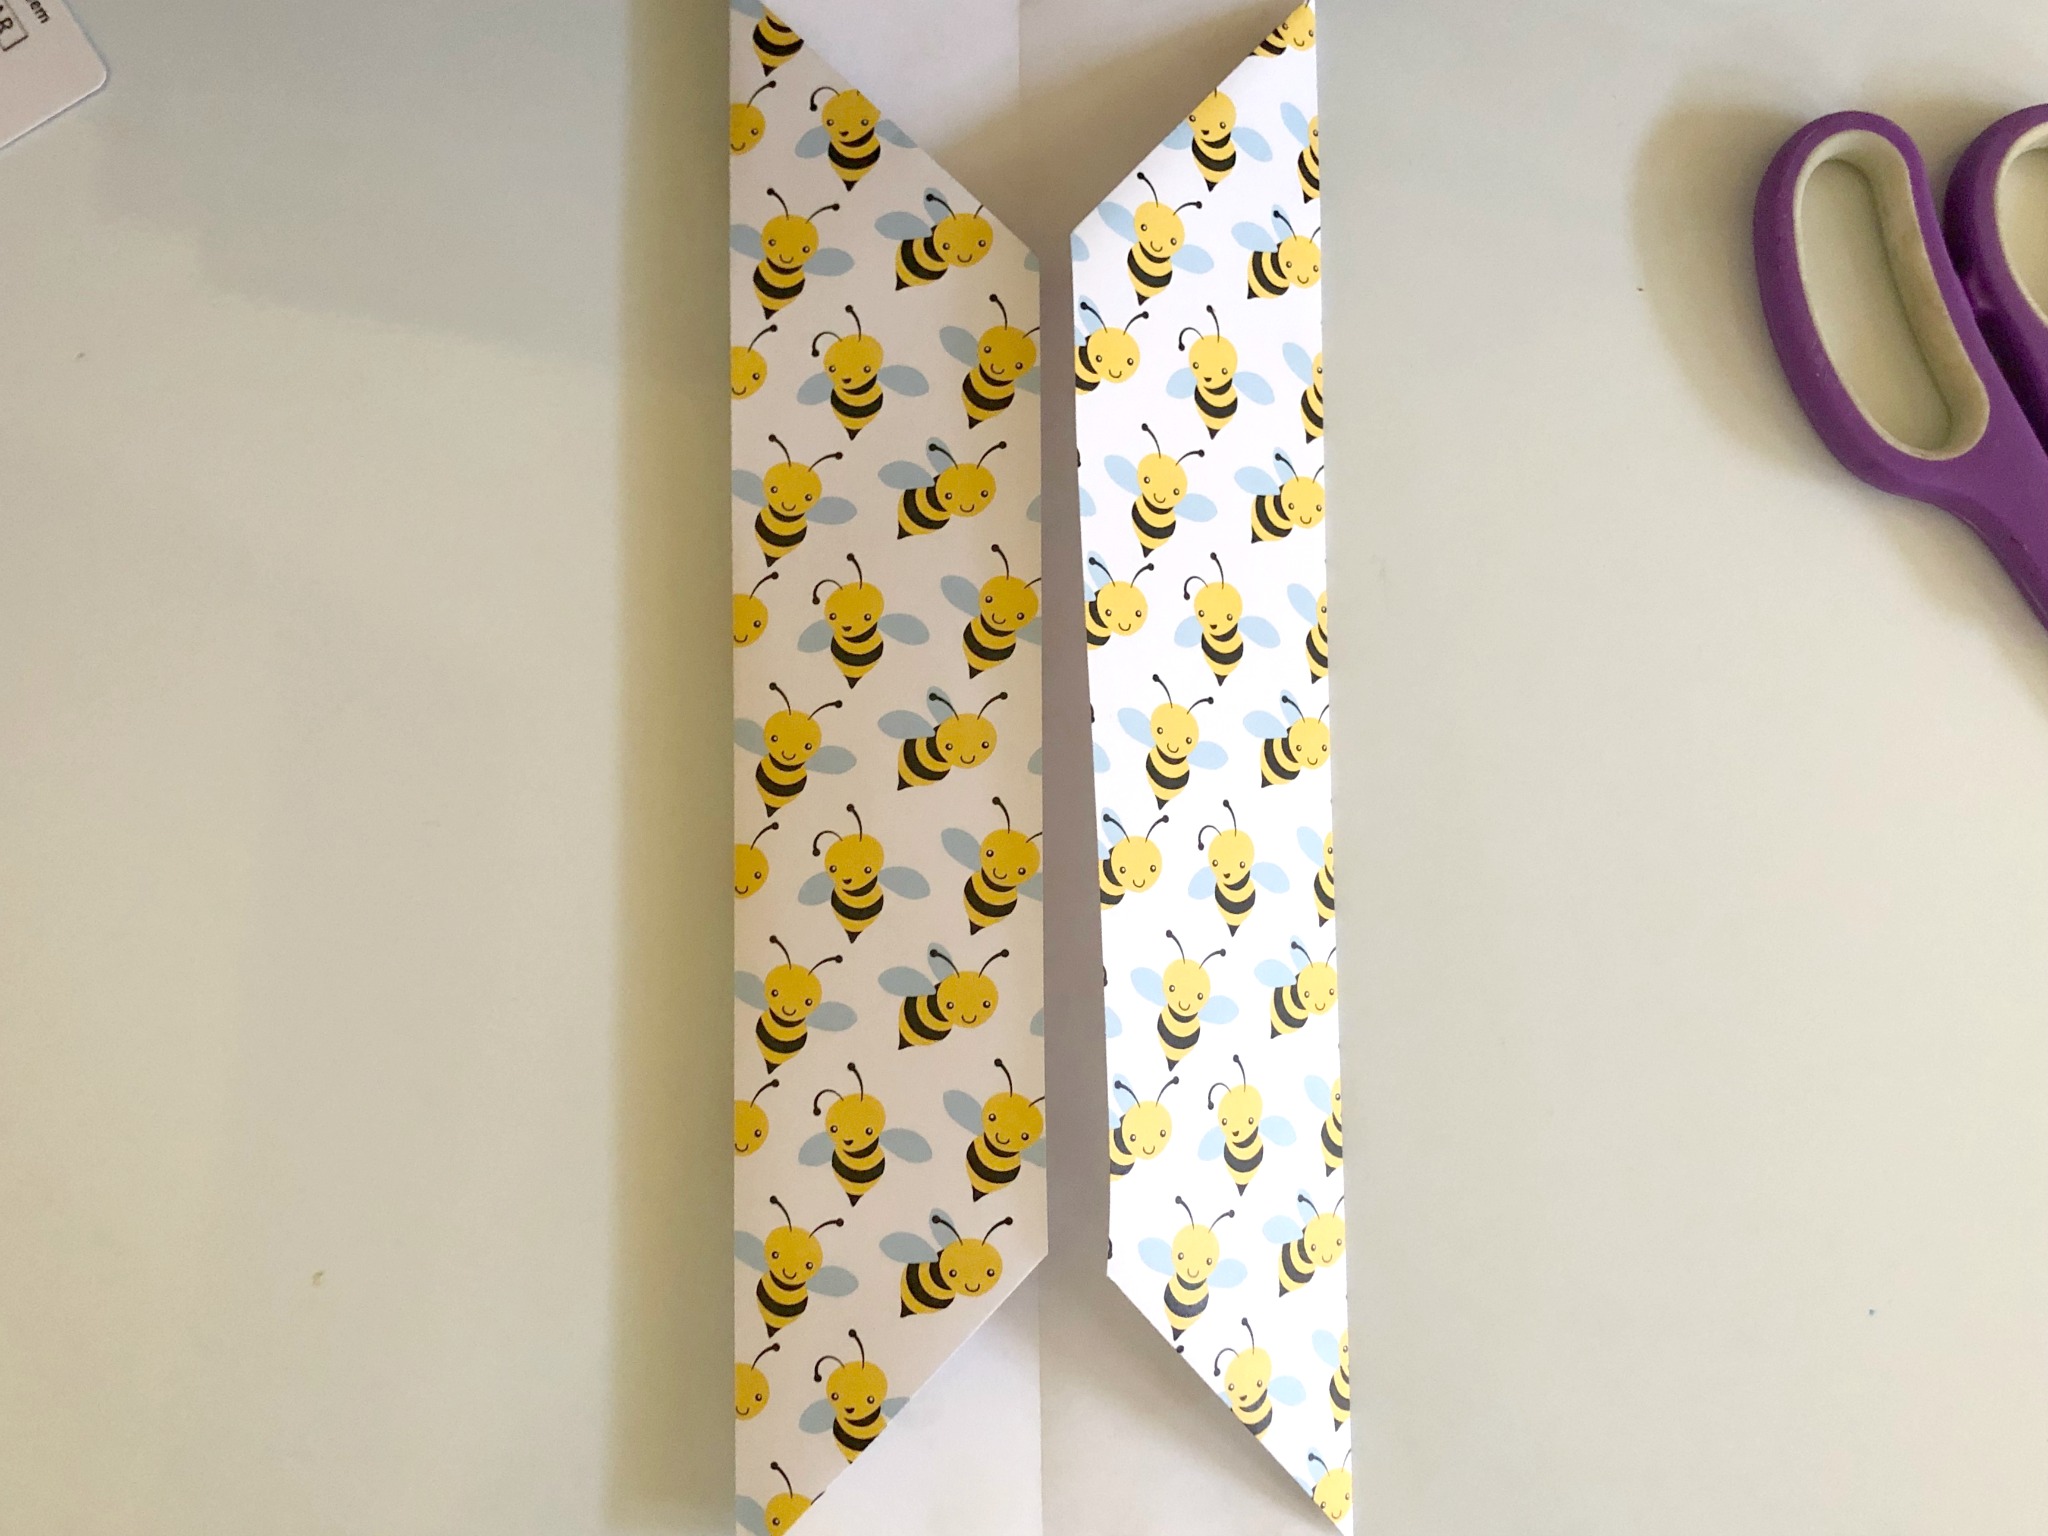 Fold each corner in towards the first crease. Then fold each of the two sides in towards the middle, as shown, above.
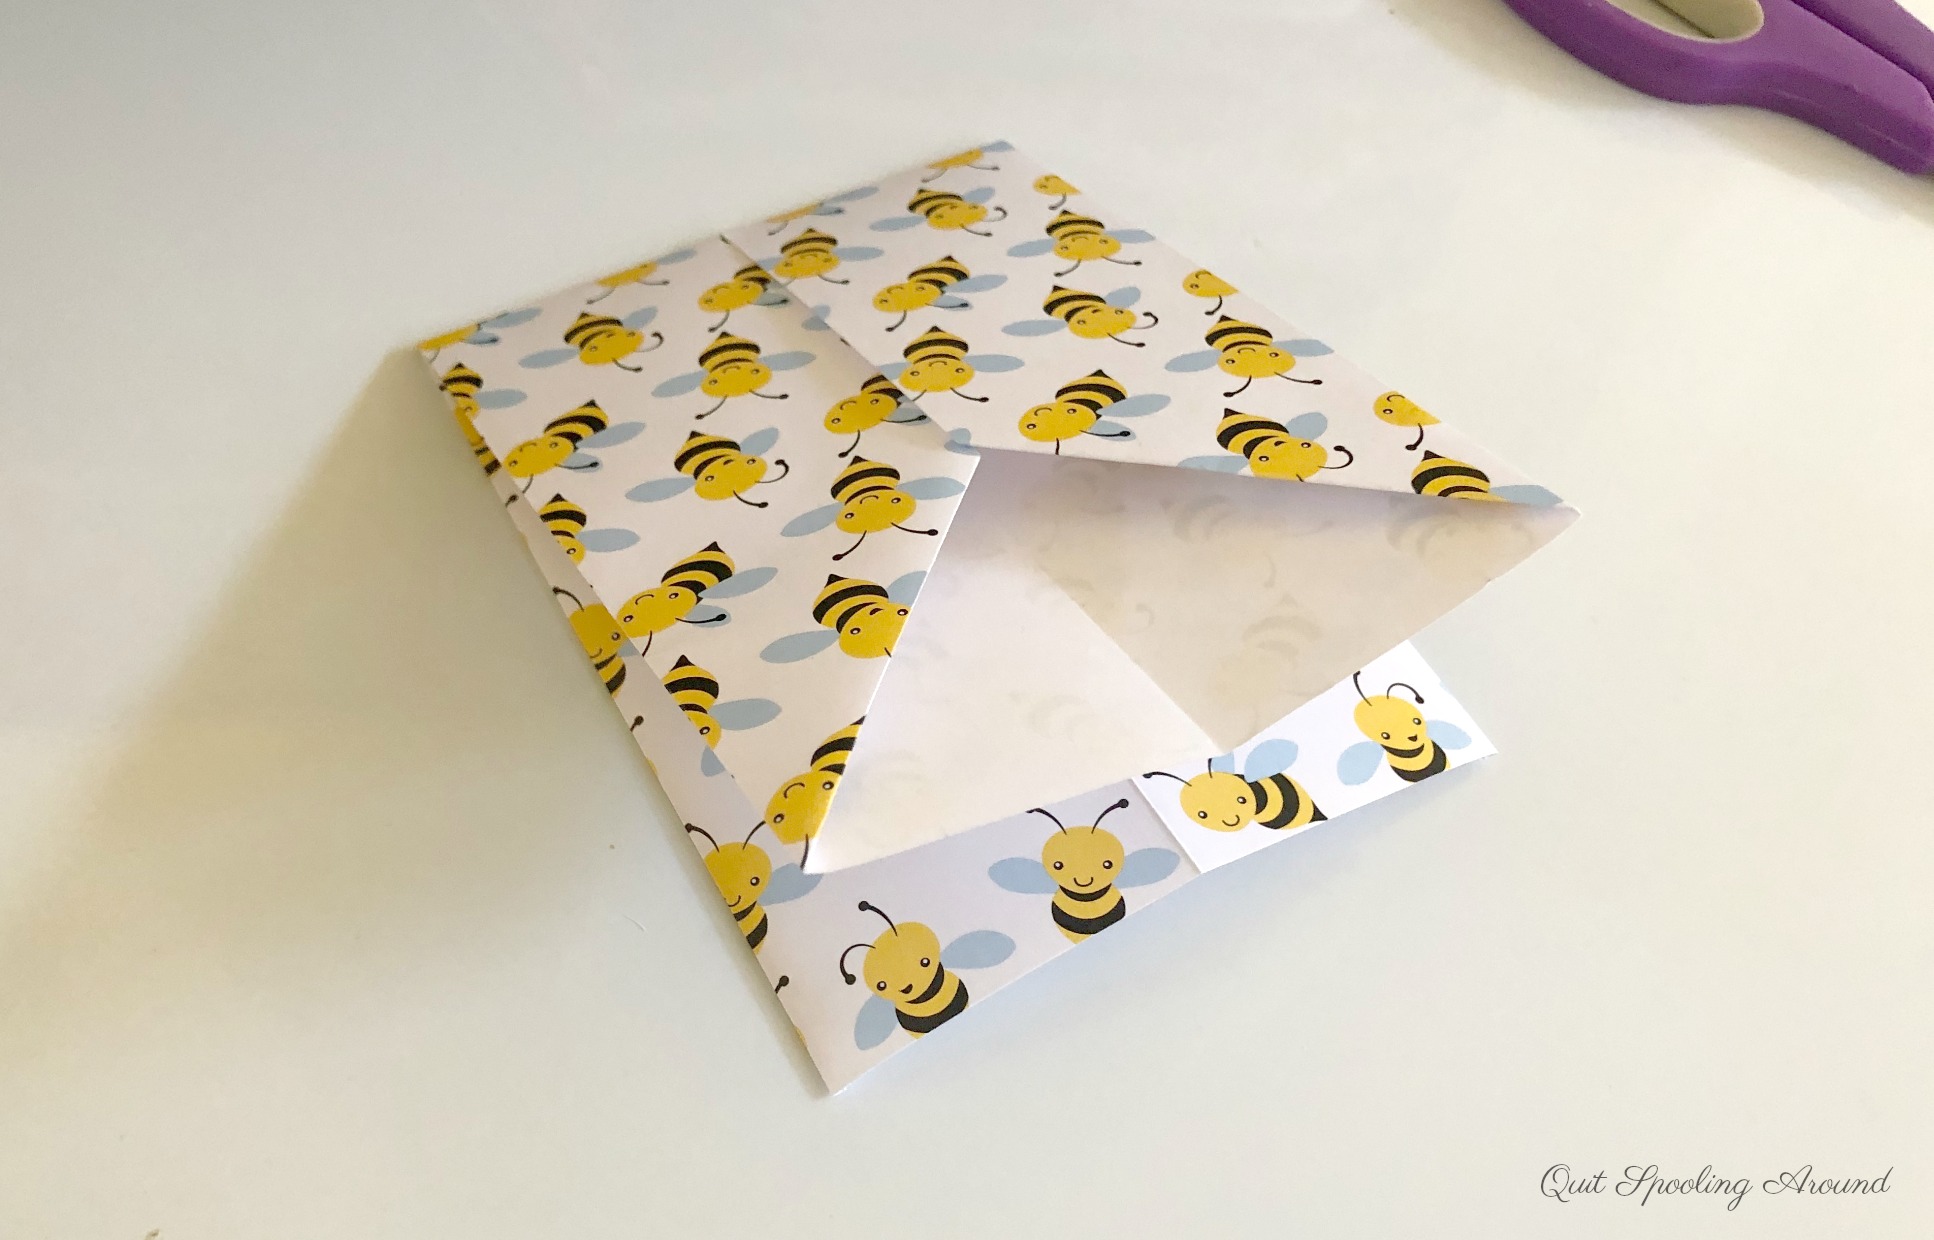
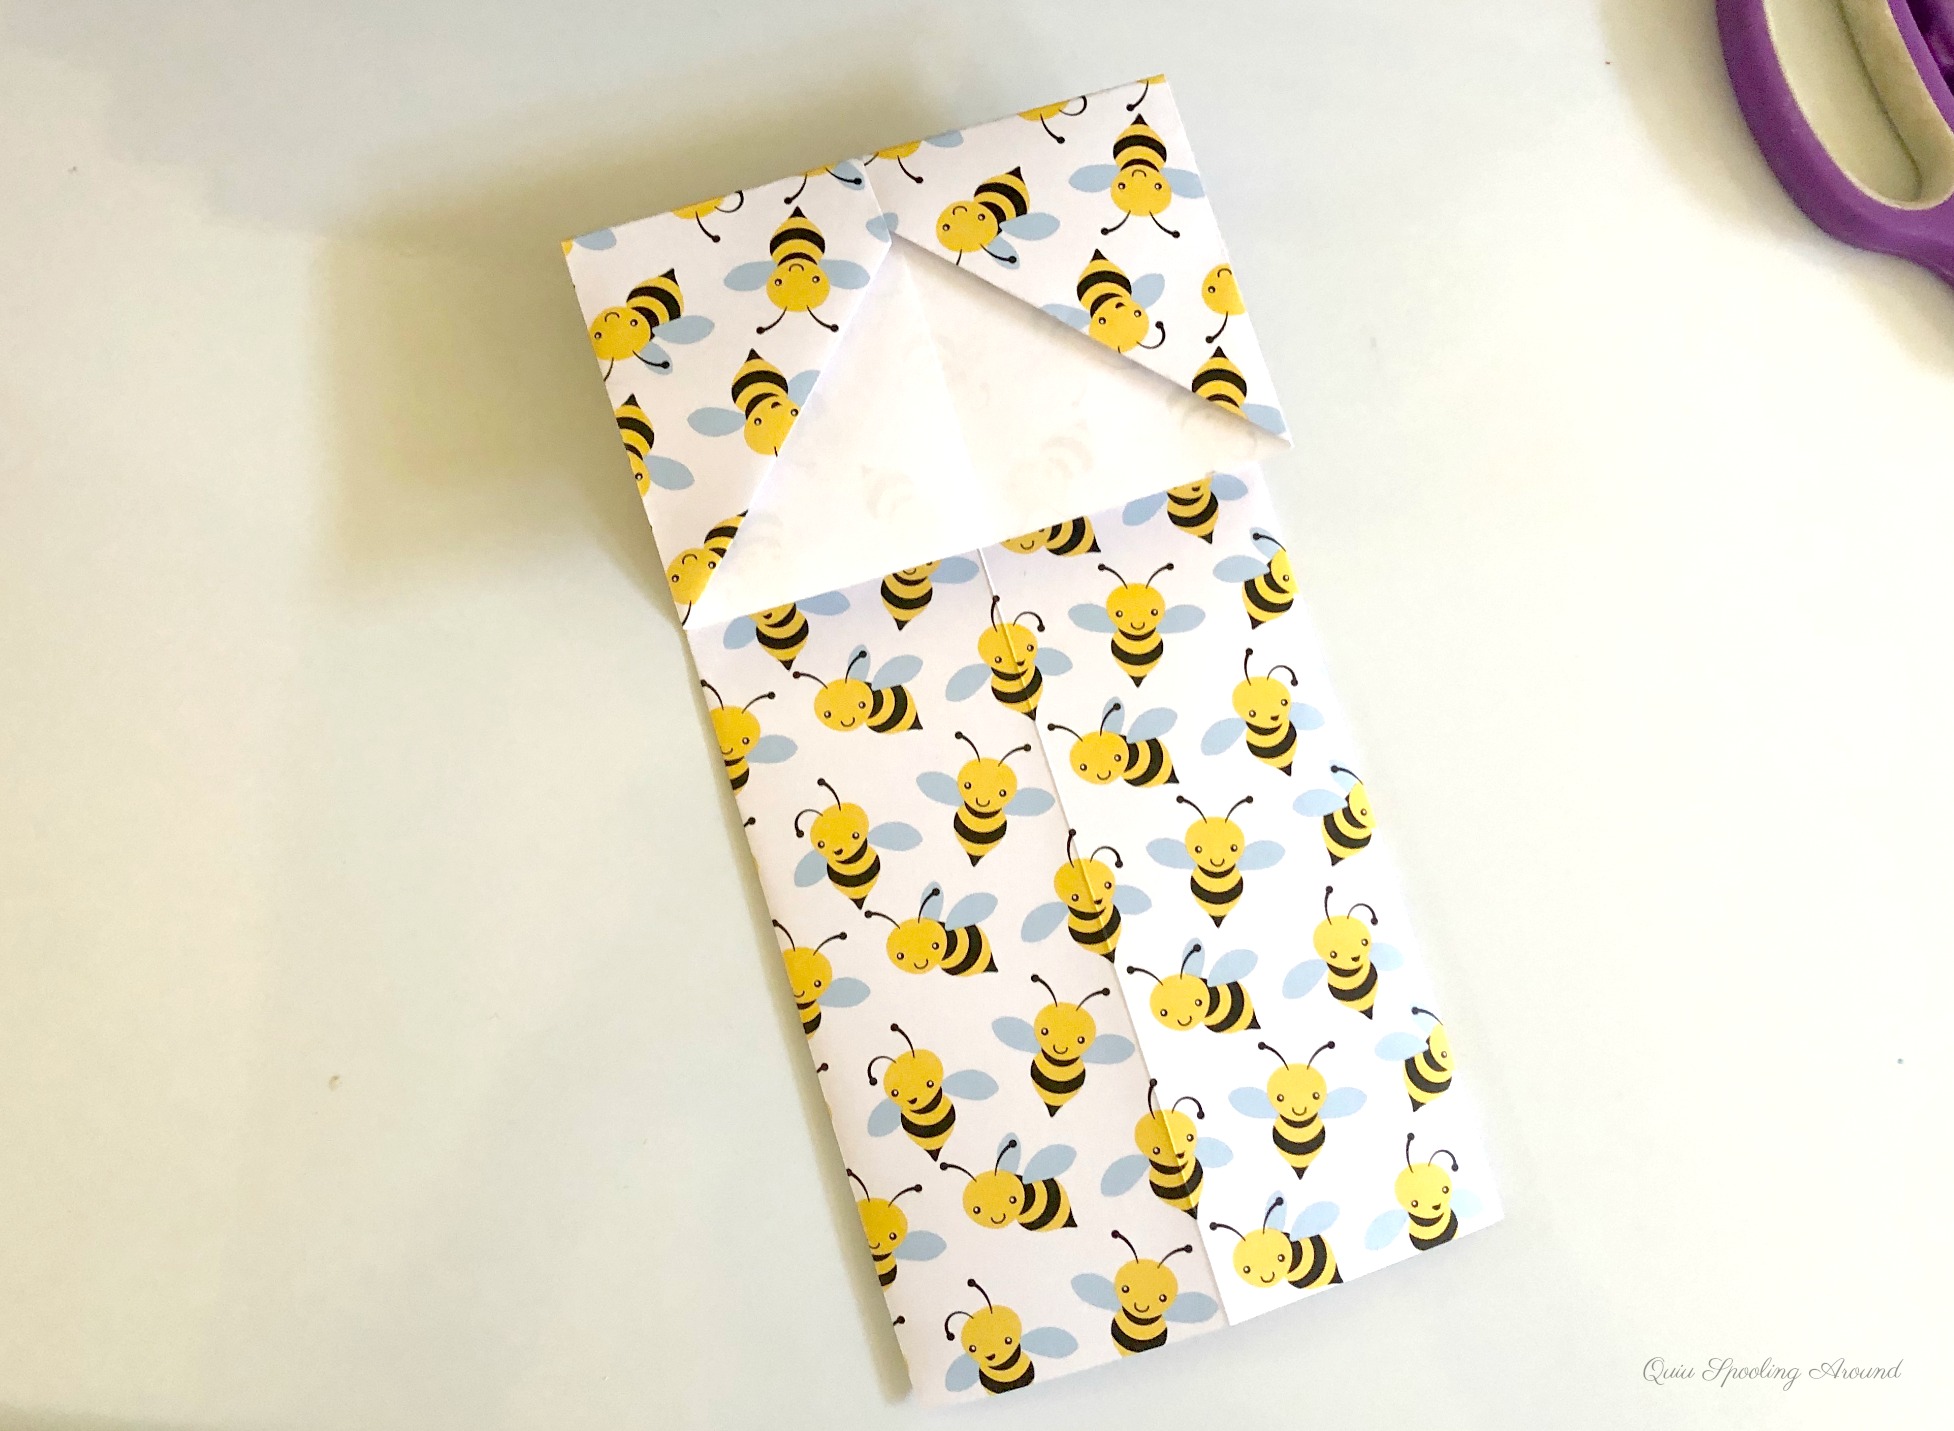
Fold the paper in half (backwards) with the open end facing you. Then gently unfold and lay flat. Then take the open end and fold it towards the middle crease.
Repeat on the other side, tucking the opposite open end inside the end of the first side.
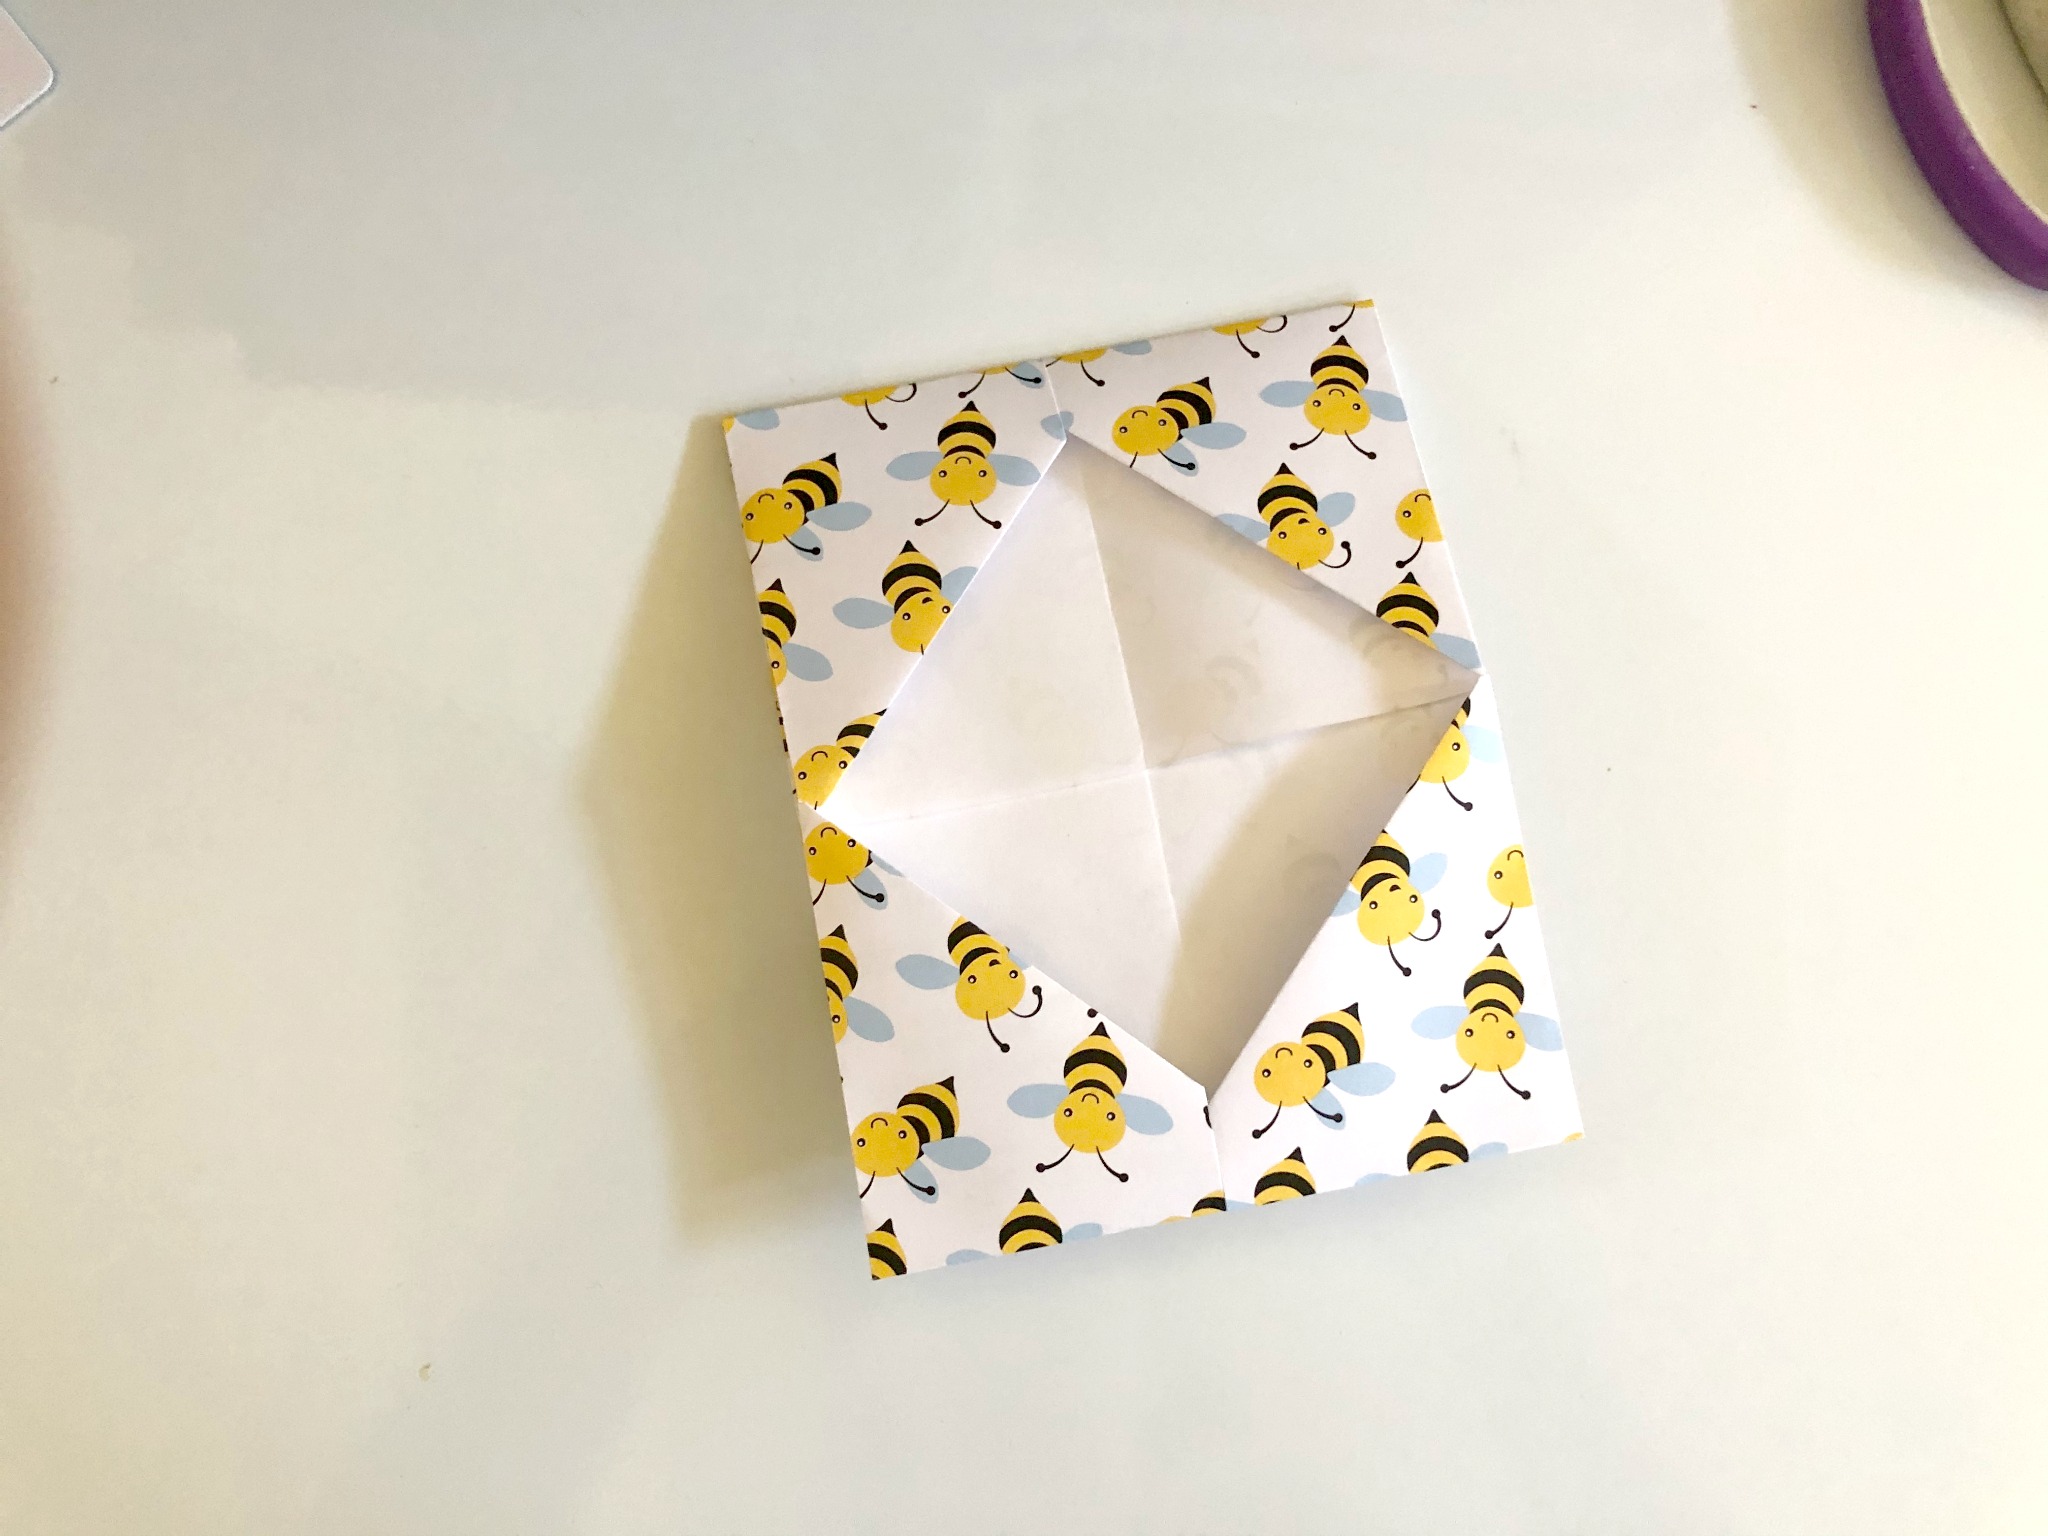
There you go! Slide your gift card in one end (or both ends) or, write a note for one side, tuck the gift card in the other and use some decorative ribbon to finish your holder.

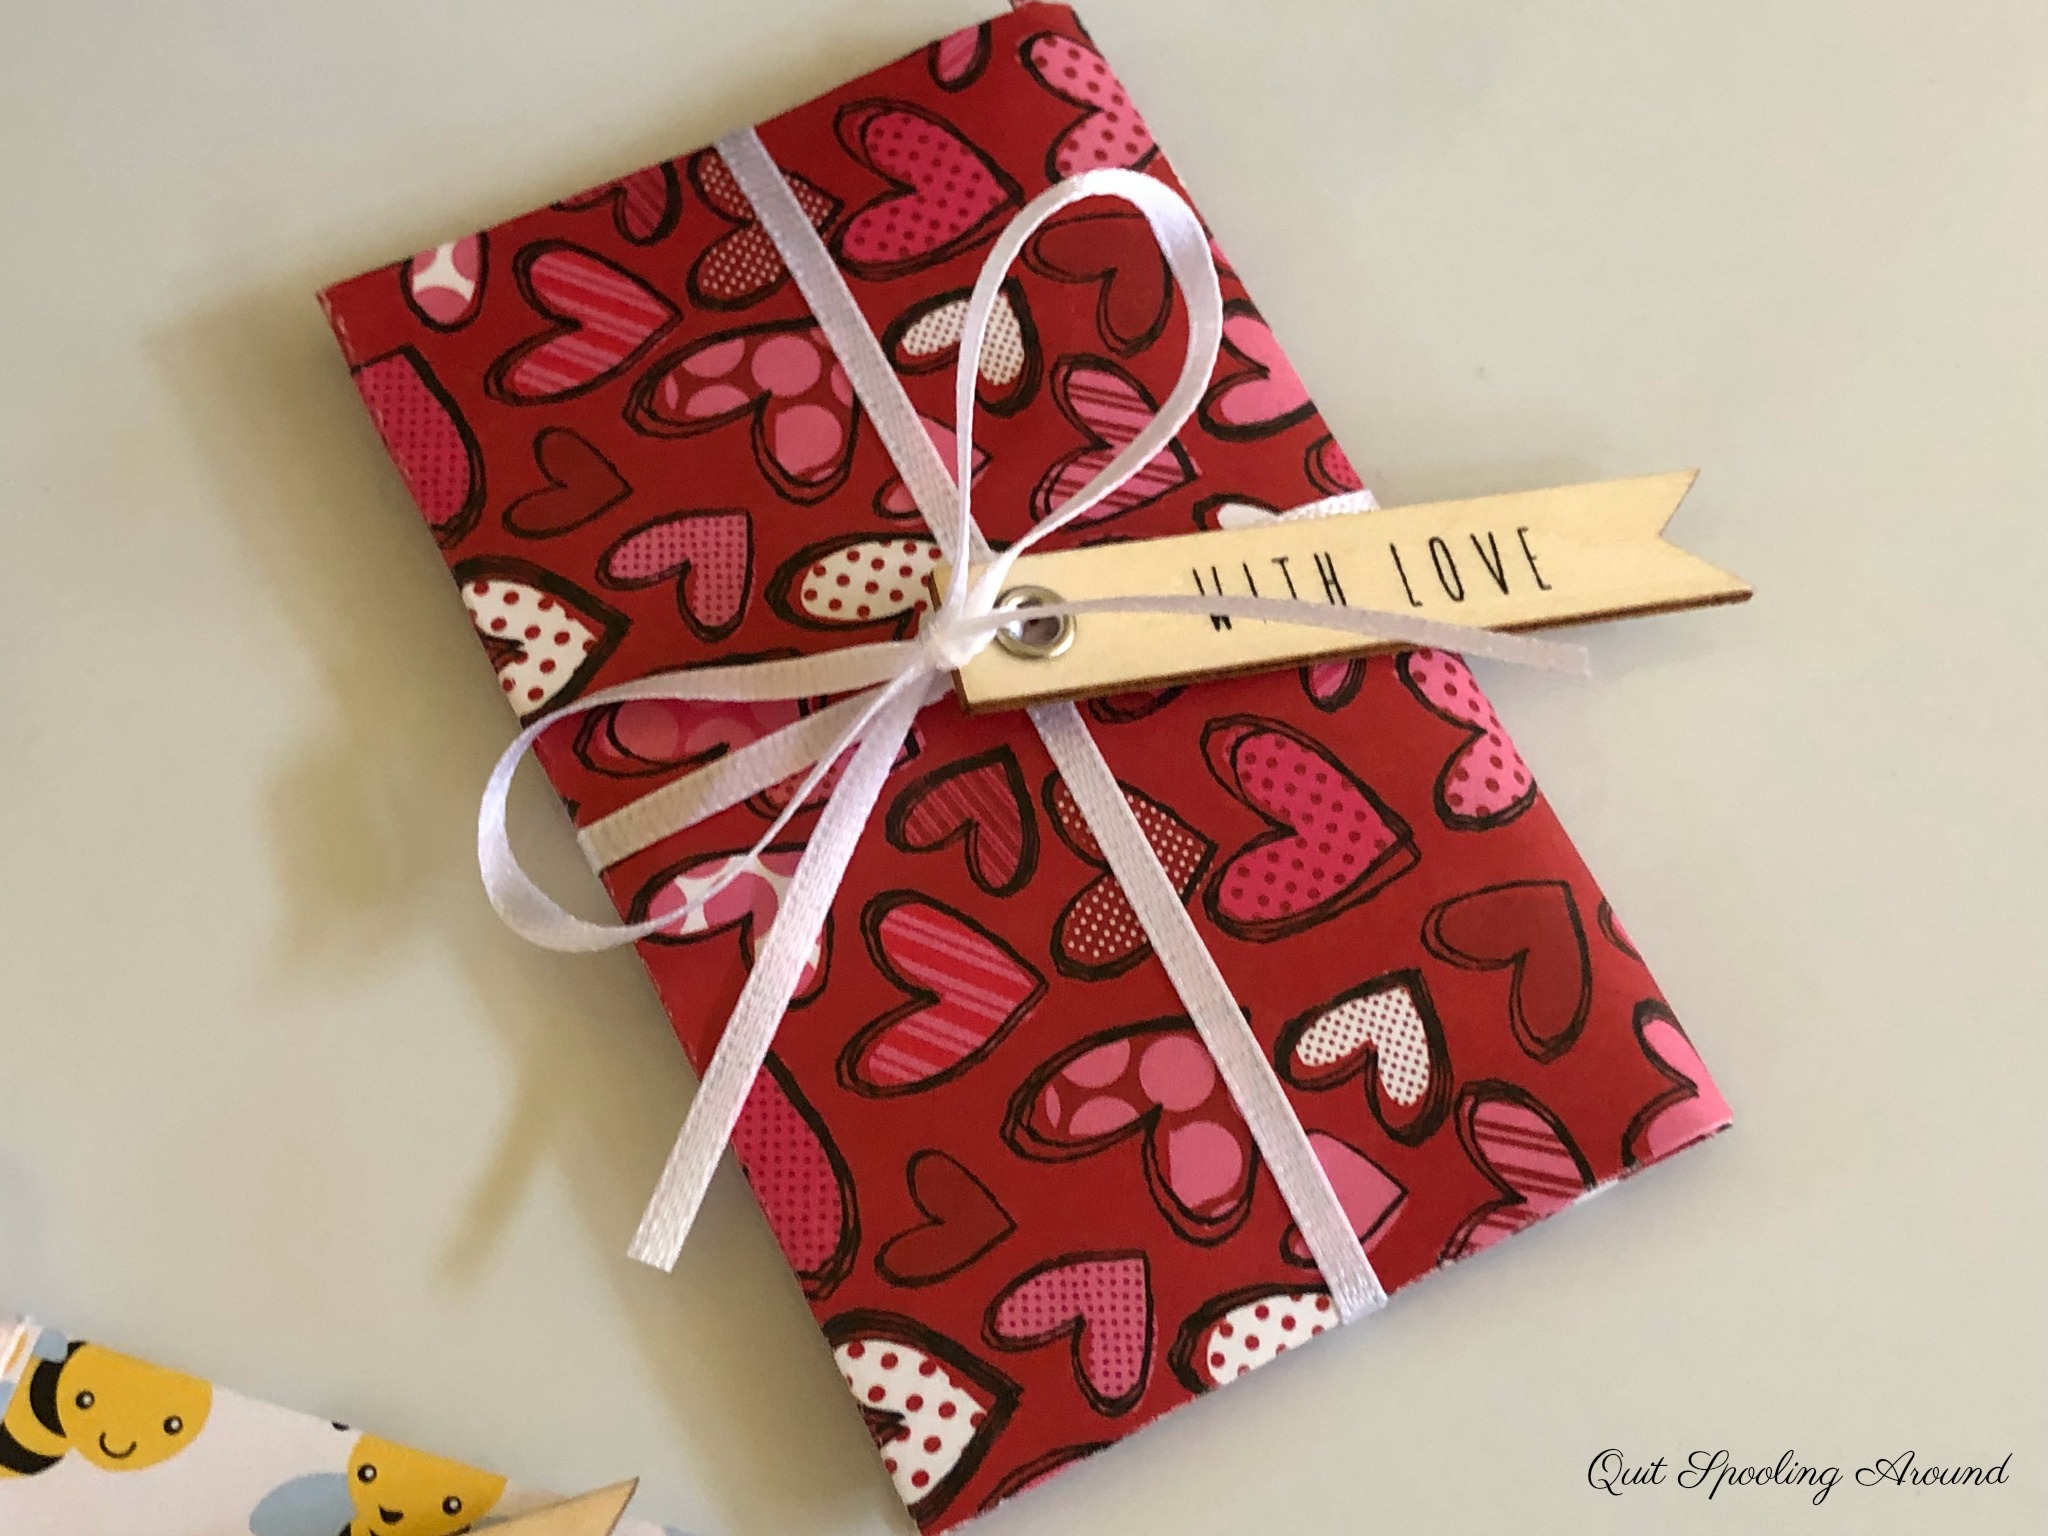
Go the extra mile by picking up some decorative ribbon and tags to make the gift card holder look even more special!

Leave a Reply